Using the Data Mover portal
The Data Mover portal is organized into three panes: the header, the menu and the main view.
The following image displays the three panes of the Lyve Data Mover console.
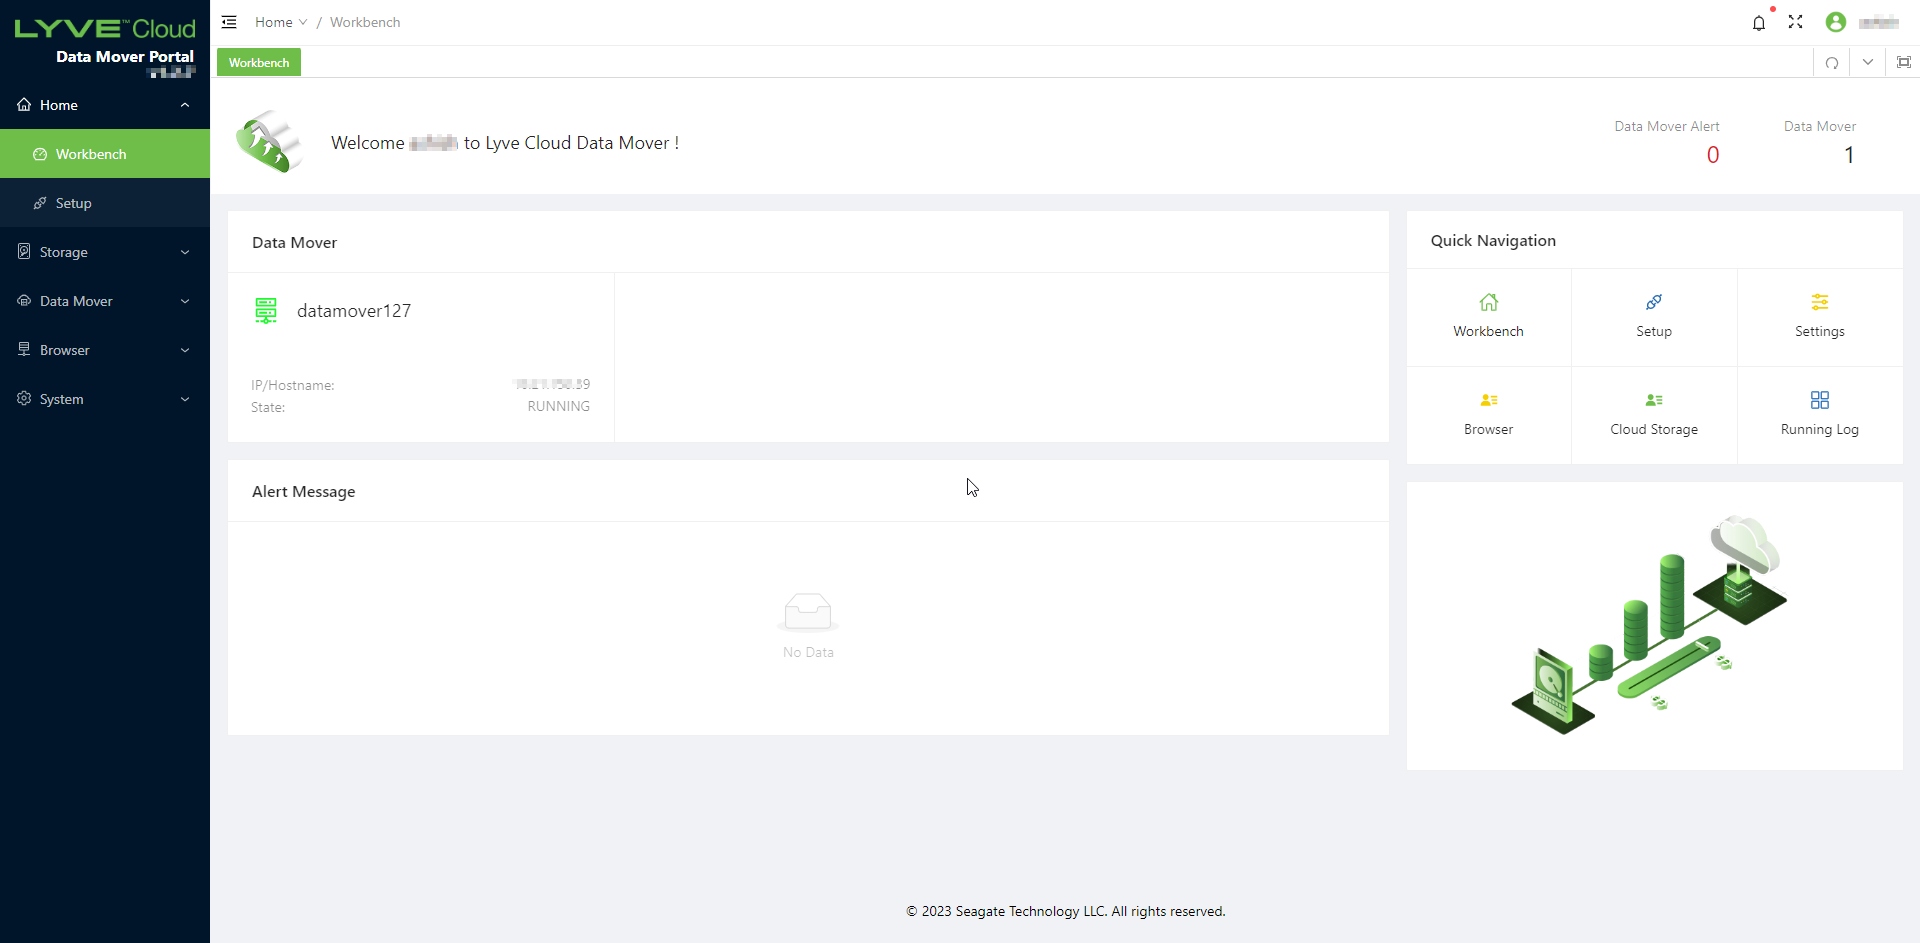
Header pane: Select the Lyve Cloud logo to return to the dashboard. The upper right corner of the header pane displays the user name, settings, full screen, and bell icon. A refresh icon and a drop-down arrow are visible, and the icon hides the left navigation pane.
Menu: The menu is organized in the following sections:
Home
Workbench: Landing page displayed upon log in to the Data Mover portal. Displays the Data Mover instances and lists their status, including alerts and notifications.
Setup: Allows you to add a new Data Mover device. After the installation, you must provide information about the Data Mover Worker in different sections, such as Basic Information, Data Source, and Data Destination.
Storage
Cloud Storage: Displays the S3 cloud storage details such as access key, secret key bucket name, and endpoint. You can also edit the cloud storage details.
Mount Point: Displays the source mount point details (data to copy/move from local to the cloud) of the Data Mover worker node, such as Mount Point name, Total Space, Used Space, Available space and Usage Percentage.
Data Mover
Device: Displays on-premises device details, you can edit, start, stop, and restart the Data mover service.
Settings: This section allows you to change the data source, restore path, enable/disable the ACL restore option, and change the Sync mode of data mover.
Restore: This section allows you to create a restore task to restore backed update in Lyve Cloud based on the folder, number of days, date range, or all data.
Sync: This section allows you to create manual sync based on folder, day, date range, or all. It also lists the sync tasks once they are created. You can switch auto-sync or Manual sync from the Settings section.
Running Log: Displays logs generated by the system. (Different category)
Browser
User Management: This section allows you to manage Data Mover browser users. You can add or remove local and LDAP centralized users.
System
User: This section displays the list of available Data Mover portal users. It also allows you to create new local users and LDAP centralized users.
Change Password: This section allows you to change the logged-in user's password.
Audit Log: Displays all the user login activity to the Data Mover portal and browser logs of the user.
Data Mover: This displays the Data Mover's name and status. It also shows the IP address or the hostname of the Data Mover. The status can be Running or Stopped.
Notification: This section displays a series of critical issues related to Data Mover performance.
Alert: Displays the count of current critical issues.
Alert Message: Display critical issues with the corresponding error message.
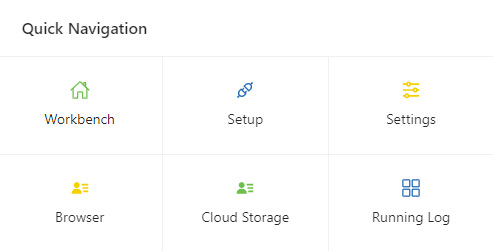
Using Quick Navigation
This pane allows you to quickly navigate to the most used datalinks. On the navigation page, quick navigation is available on the right side. The quick navigation consists of Workbench, Setup, Settings, Browser, Cloud Storage, and Running Log shortcuts.