Managing Portal and Browser users
The Data Mover consists of two web-based user interfaces, the Data Mover Portal and Data Mover Browser.
Data Mover Portal: The Portal is the tool to manage and monitor the data moving tasks. It also enables IT administrators, to restore the data in big volumes.
Data Mover Browser: The Browser provides a high-efficiency way to browse the data you backed up in the Lyve Cloud.
You can create a local and an LDAP user in Data Mover. The local user can log in using the credentials, and the LDAP user is authenticated based on the organization's credentials.
To access these two web-based user interfaces, you must create different users to access each UI.
Creating Data Mover portal local user
On the left-hand menu, select System, and then select User.
On the User page, select Create.
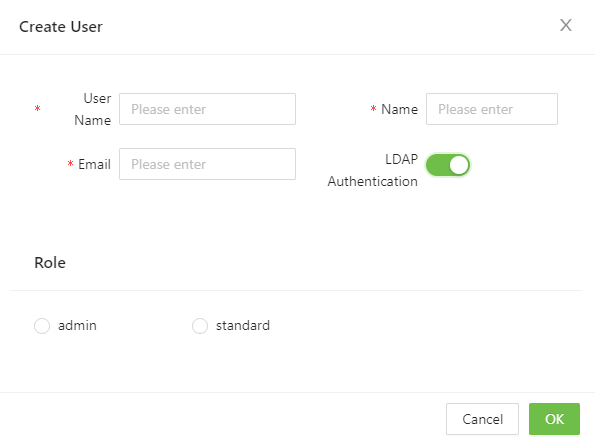
Enter the following user information and select Ok.
User Name: Enter the username for the user to use the Lyve Data Mover.
Name: Enter the name of the user.
Email: Enter the email address of the user.
LDAP Authentication: Select to enable LDAP authentication. Ensure the user exists in LDAP.
Password: Enter the default password for the user. The user can change this password.
Set the new password based on the password policy:
Password must be 8-32 characters long.
Password must contain at least one uppercase letter, one lowercase letter, a number and a special character.
Password (Confirm): Re-enter the password for the user to confirm both passwords match.
Role: Select the role of the system user as admin or standard.

Creating Data Mover portal LDAP user
The LDAP user can log in using the organisation's user ID and password and is authenticated by the organization. Ensure that the customer's LDAP must be available and configured using the Data Mover Portal.
On the left-hand menu, select System, and then select User.
On the User page, select Create.
Enter the following user information and select OK.
User Name: Enter the username for the user to use the Lyve Data Mover.
Name: Enter the name of the user.
Email: Enter the email address of the user.
LDAP Authentication: Select to enable LDAP authentication for the user. This will ensure secure SSL connections.
Role: Select the role of the system user as admin or standard.
Managing Data Mover portal user
You can edit, delete, reset passwords, and enable LDAP authentication for a system user.
On the left-hand menu, select System, and then select User.
Perform the following actions for the system user:
Edit: Select Edit to update or change the user details. You can edit the Name, Email, Phone, and Role of the user.
Delete: Select Delete to delete the user.
Reset Password: Reset the system user's password. Once the password is reset, the confirmation box displays the new password.
Enable LDAP Authentication: Select to enable the LDAP authentication. Ensure the user exists in LDAP.
Creating a local user for the browser
You can create new users to use the Data Mover portal.
Once the user is created, the user is displayed in the user list.
On the left-hand menu, select Browser, and then select User Management.
On the User Management page, select Create.
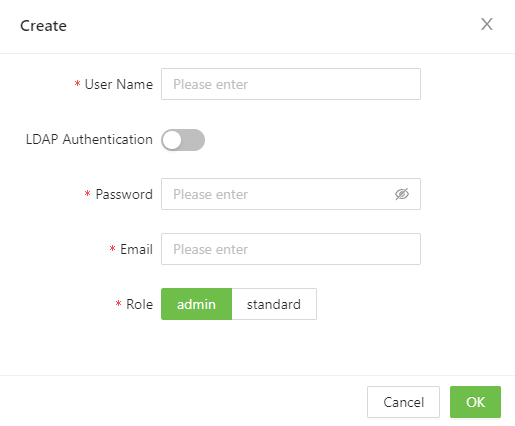
Enter the following information, and select OK.
User Name: Enter the username to use the Lyve Data Mover.
LDAP Authentication: Select to use for user authentication.
Password: Enter the default password for the user. The user can change this password.
Set the new password based on the password policy:
Password must be 8-32 characters long.
Password must contain at least one uppercase letter, one lowercase letter, a number and a special character.
Email: Enter the email address of the user.
Phone number: Enter the phone number of the user.
Role: Select the role for the user. The roles can be admin and standard.
Creating an LDAP user for the browser
Once the user is created, the user is displayed in the user list.
On the left-hand menu, select Browser, and then select User Management.
On the User Management page, select Create.
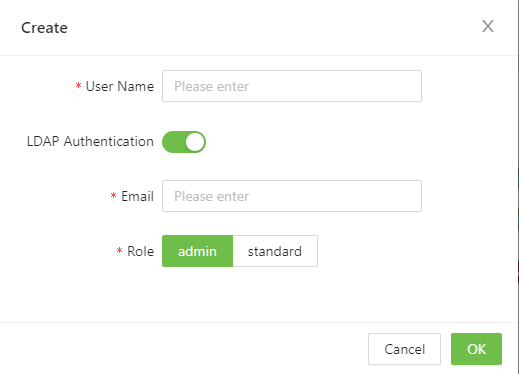
Enter the following information, and select OK.
User Name: Enter the username to use the Lyve Data Mover.
LDAP Authentication: Select to use for user authentication.
Email: Enter the email address of the user.
Role: Select the role for the user. The roles can be admin and standard.
Editing the browser user
On the left-hand menu, select Browser, and then select User Management.
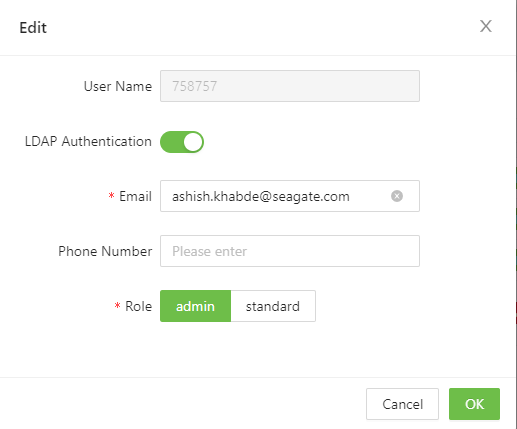
Select Edit from the Actions column to edit the user.
Edit the user’s Email , Phone Number, Enable, and Role and select OK.
You can perform the following actions:
Enable or disable the user access.
Change the role of the user.
Enable or disable the LDAP Authentication.
Deleting the browser user
Navigate to the user’s list page to delete a user.
Select Delete from the Action column. for the user to delete.
Select OK in the confirmation box.

Resetting password for browser user

On the left-hand menu, select Browser, and then select User Management.
On the User Management page, select Reset Password from the Actioncolumn.
Select OK in the confirmation box to reset the password.
After creating a user you can create roles and permissions and assign the role to the user. You can create a custom role that can contain any supported permission. By default, new roles have no permissions; therefore, when you create a role, you must add all the permissions for that role. If you do not add permission to view the pages of the user interface in the Data Mover portal, users can log in to the portal but cannot see any information.
You can create a role and enable permissions for the role for portal and system users. You can set the role as a default when creating a new user.
Select System from the menu and then select Role.
Select Create to create a new role.
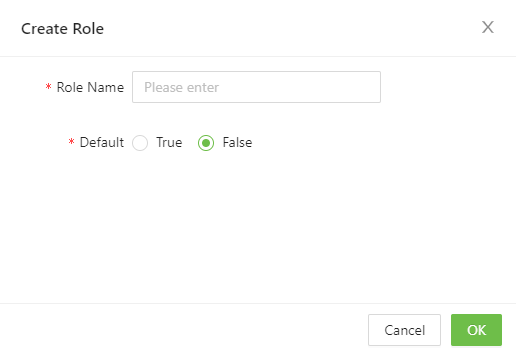
Enter the following and select OK.
Role Name: Enter the role's name to be assigned to the user.
Default: Select the value as True or False. Based on this selection, the value is set as default when creating a new user.
After the role is created, it is listed on the Role page.
Select Permission for the role.

In the Permission section, select the permissions to enable for the role.
System
Portal
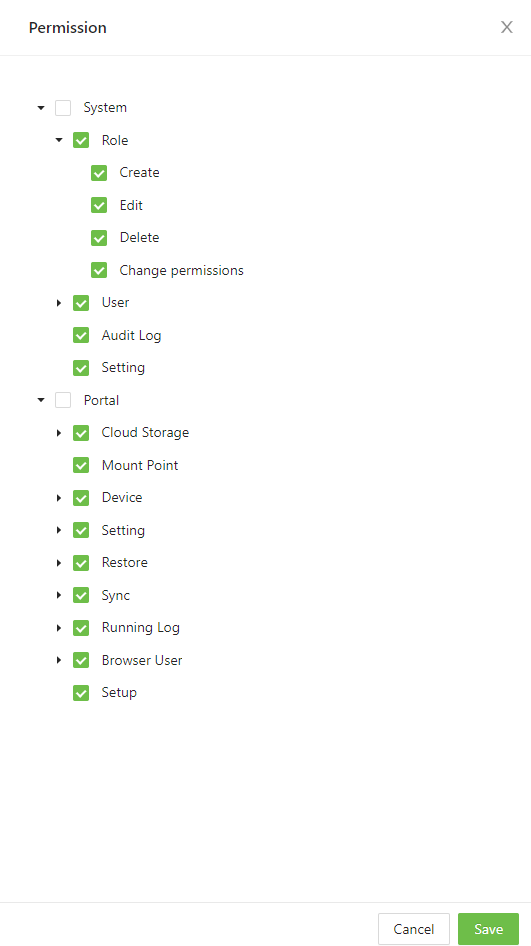
In the Permissions Granted to Role Members pane, grant permissions by selecting the associated check box.