Creating a support ticket
On the left-hand menu, select Support.
On the Support page, select Create New Ticket.
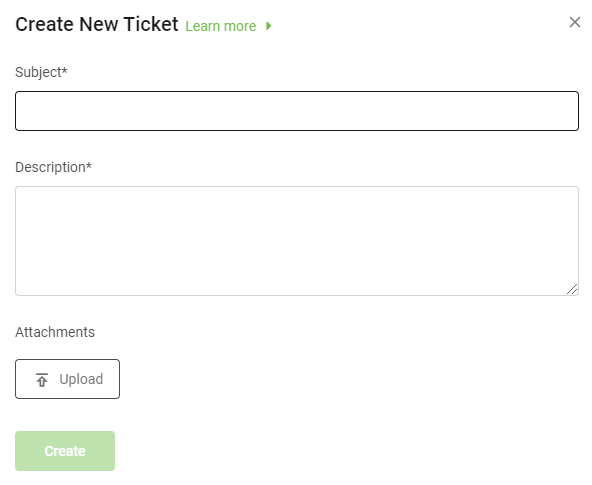
In the Create New Ticket dialog, enter the following:
Subject: Enter a subject for the support ticket. This is a mandatory field.
Description: Enter the ticket details. This is an optional field that allows you to describe the problem summary.
Attachments: Add documents that provide more details about the issue. The file size must not exceed 4 MB. Select Upload and choose the file from the desired location to upload an attachment, then select Open.
After the file is uploaded, it is listed under Attachments. To remove the attachment, select the x to the right of the file name.

Select Create.
The new ticket displays in the ticket listing table.
Note
Once a ticket is saved, you cannot delete the attachments.
Editing a ticket
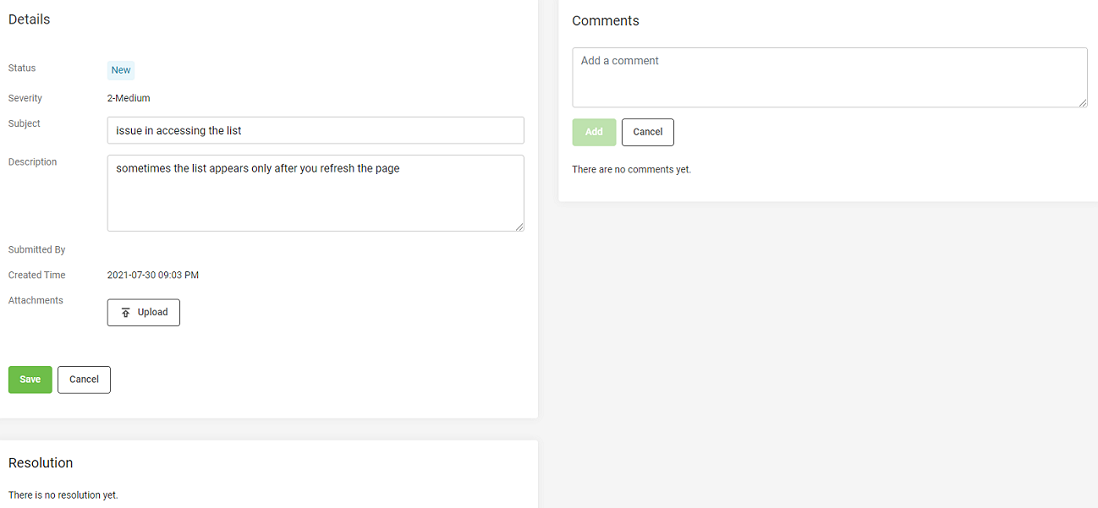
You can edit New and In Progress tickets. Editing a ticket allows you to edit or add to the problem summary, description, customer name, and attachments.
On the left-hand menu, select Support.
In the ticket listing table, select a Ticket number to edit that ticket.
On the Details pane, select Edit.
Edit any of the following fields:
Subject
Description
Attachments: You can add new attachments, but you cannot delete attachments that were previously added.
Add New Comment
To add comments, select Add New Comment.
Enter a comment and select Add.

Select Save.
Viewing ticket details
On the left-hand menu, select Support.
On the Support page, select the ticket number to view its details.