Installing the Data Mover Portal
The Lyve Data Mover Portal server is deployed as a virtual appliance on a VMware vSphere. Using the vSphere Navigator, navigate to the directory to deploy the OVA file. For more information, see Deploy an OVF or OVA Template.
After starting the portal virtual machine, launch the terminal using SSH (Secure Shell) or through VMware, client console to log in to the portal server.
Using SSH or through the VMware Client console, log in as lyveinstall.
Note
The default password is !yv3@dm1n. Change the password immediately after login.
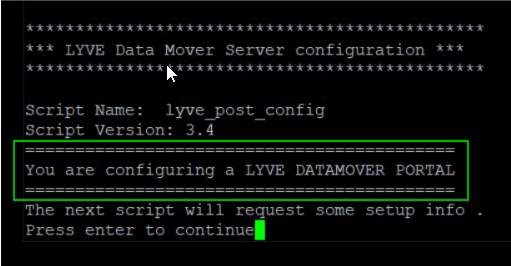
The data mover portal server banner is displayed.

Run the following command and enter the password:
sudo /usr/local/bin/lyve_post_config.sh
Enter Yes to accept the End User License Agreement (EULA).
Press Enter to continue the setup.
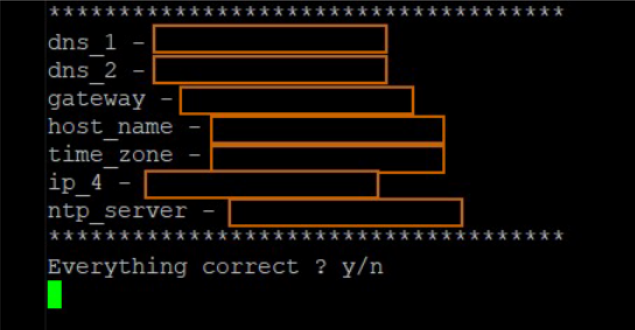
Specify the network details:
Set the hostname of the Data Mover portal server.
For example, lyve-portalab.us-west-1-dev.lyvecloud.seagate.com
Configure the Network Interface.
Input format : <IP Address>/<CIDR>.
For example: 10.121.10.22/24
Set the Default Gateway.
Configure the Time Zone.
For example, Asia/Singapore.
Configure the DNS server and set Preferred DNS1 and Preferred DNS2.
Enter the NTP server IP address.
Review the summary and type y to continue, or type n to modify.
The Data Mover Portal performs a periodic backup of the internal metadata database every 12 hours and retains these backups for one day. This process is controlled using a cronjob.
To keep the default retention duration enter y, or n to change.

The backup database dump files are located at /backup_dmp/backup_db/pg_dump/archived folder. You must monitor the filesystem storage space and increase it accordingly.
After installing, run the following command to list the Postgres cronjob:
$ sudo crontab -u postgres -l
Following is the output of the cron job:
Database Backup
--------------------------------------------------
00 0,4,8,12,16,20 * * * /app/postgres/cronjob/backup_db/dbdump_local.ksh >/dev/null 2>&1
After successfully completing the installation, run the following command to reboot the Data Mover portal.
sudo reboot
After reboot, log in to the Portal VM and execute the command to verify the following:
Time zone is correctly set and in sync
NTP is enabled and synchronized
timedatectl
