Lyve Cloud with Veritas NetBackup Media Server Deduplication (MSDP)
This section guides you to deploy Lyve Cloud as a new cloud tier to an existing Veritas NetBackup Media Server Deduplication Pool (MSDP) storage server.
A Lyve Cloud Storage Account:
Permission with All Operations
Service Account credential for the storage account.
RHEL/CentOS 7.3+ Media server/ OR NetBackup Appliance.
NBU 8.3 (NBU Appliance 3.3.0.1) or higher with MSDP set up. For more information, see How to set up MSDP server.
Confirm the MSDP server has 1TB of unused space on the storage pool.
Download the latest NetBackup CloudProvider.xml.
The configuration for Lyve Cloud with NetBackup has the following tasks:
Configure Lyve Cloud Storage Account. For more information, see Provisioning storage buckets
Add a cloud tier to NetBackup by completing the following steps:
Configuring an MSDP storage server
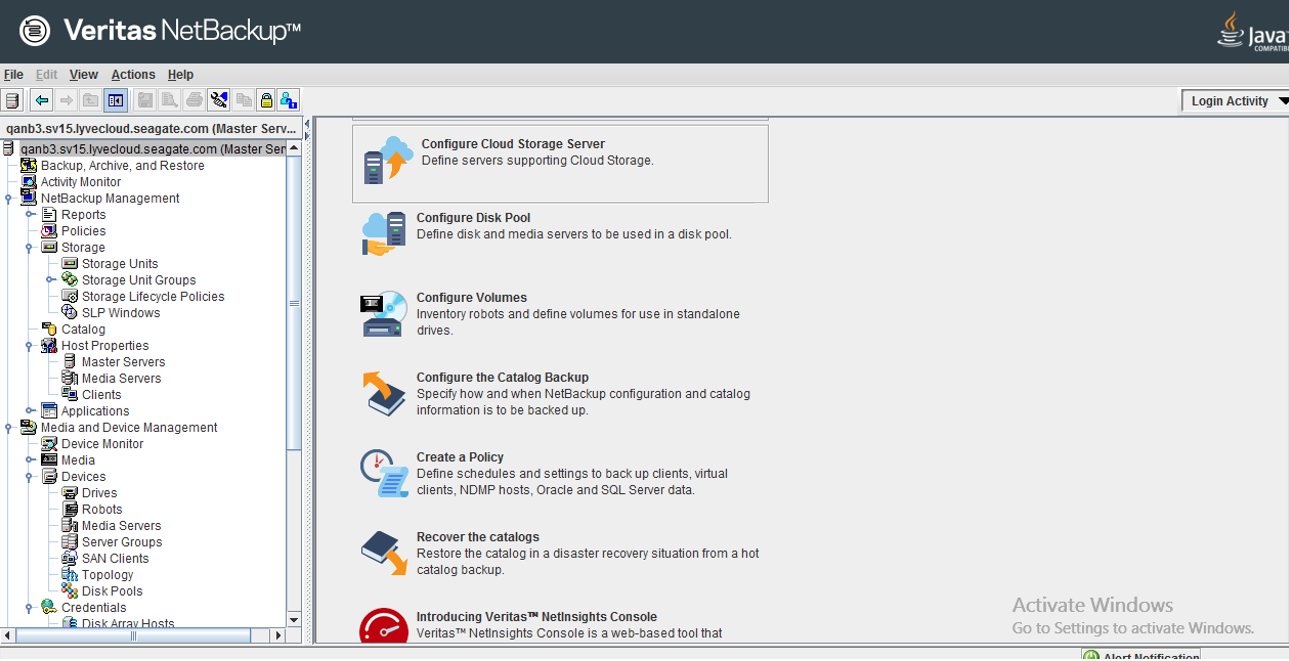
Login to the Veritas NetBackup Java Console application and select Configure Cloud Storage Server.
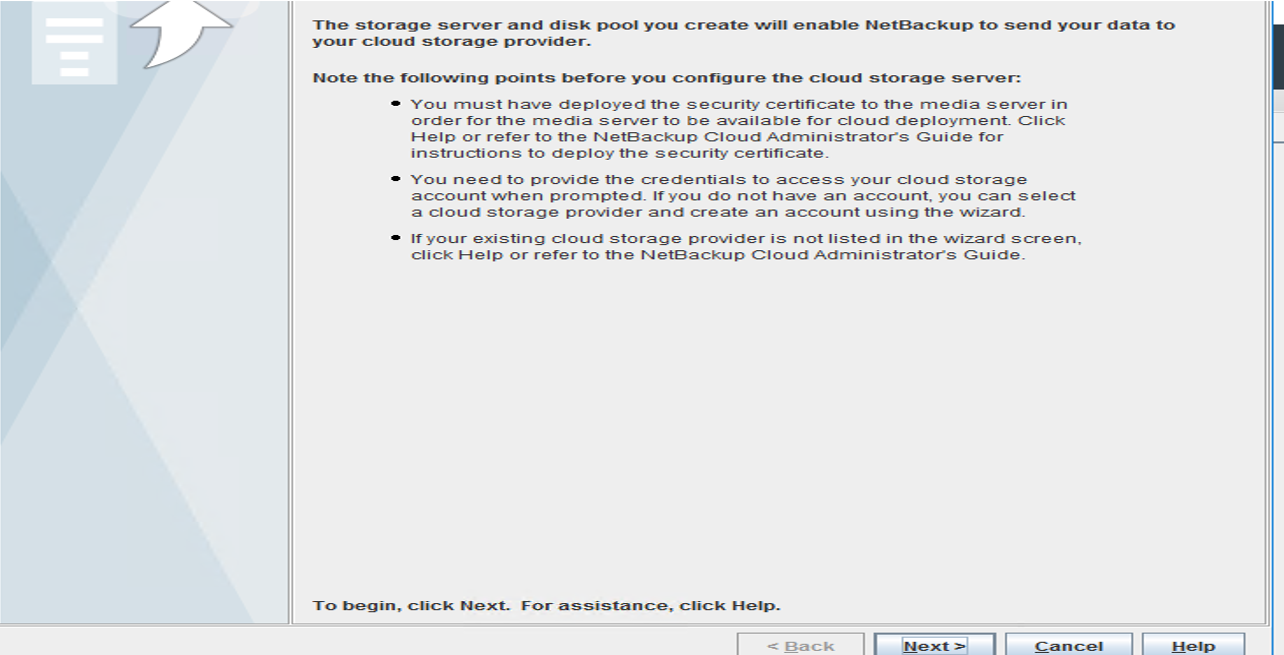
Select Next to create a cloud storage server and disk pool.
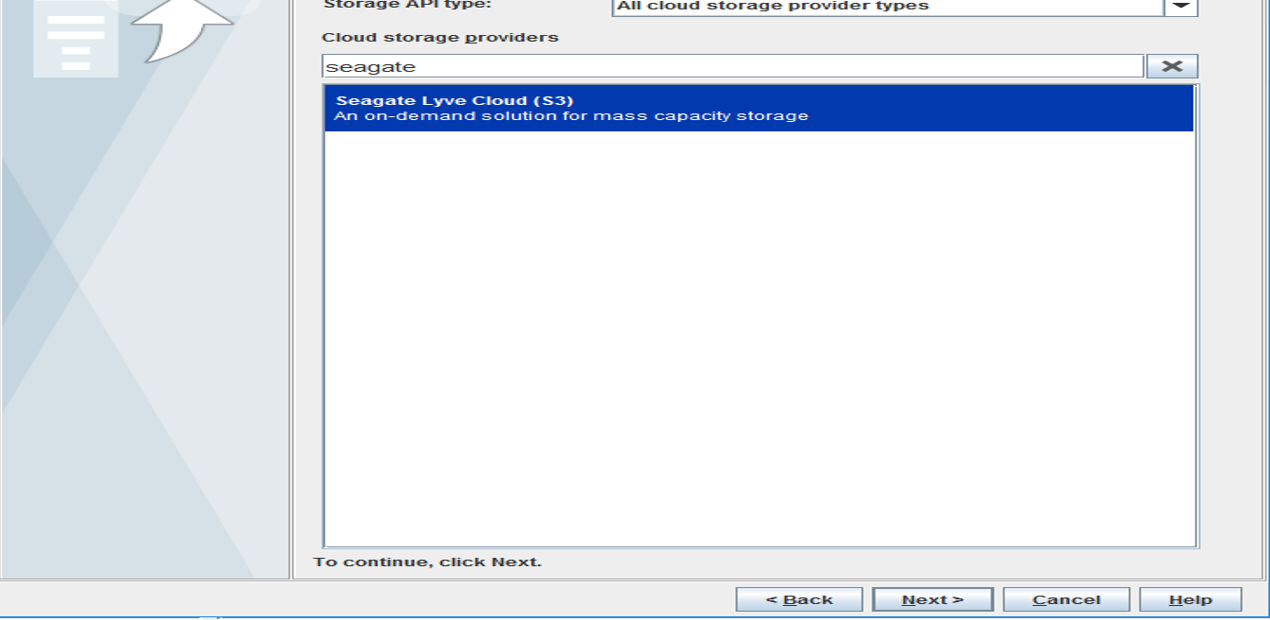
Select Seagate Lyve Cloud (S3) as your cloud storage provider. Select Next to continue.
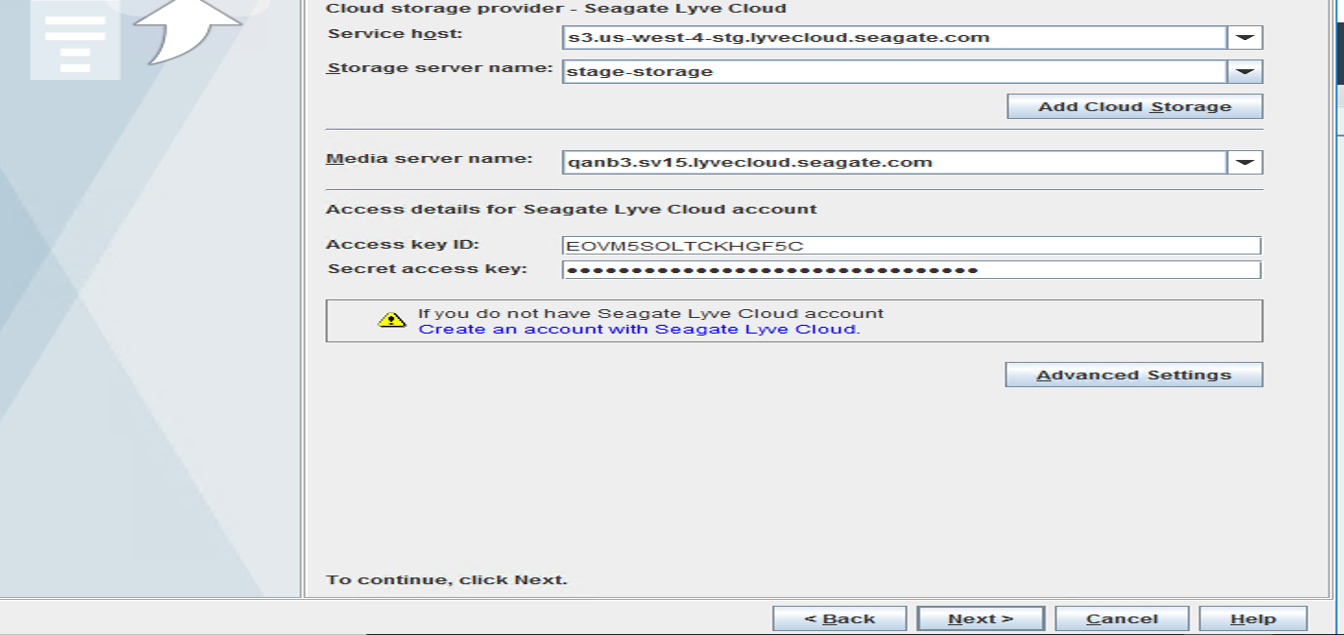
Enter the field information:
Service Host: Enter your Lyve Cloud bucket endpoint URL.
Storage server name: Enter the Storage server name.
Media server name: Enter your Media server name.
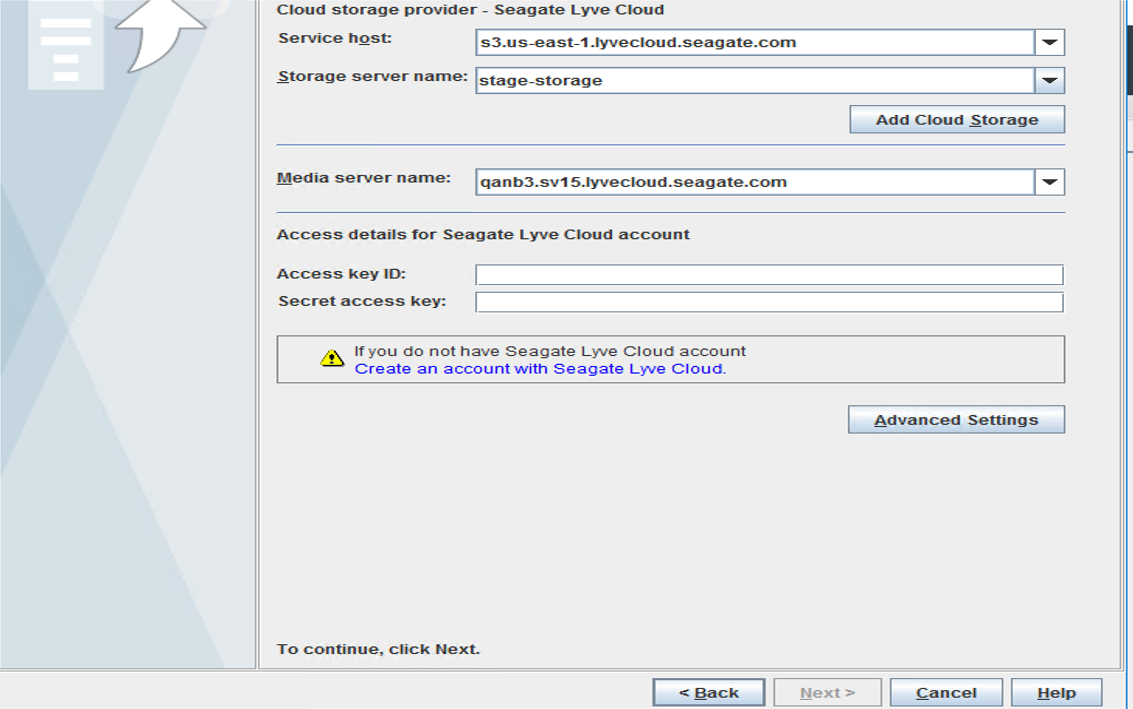
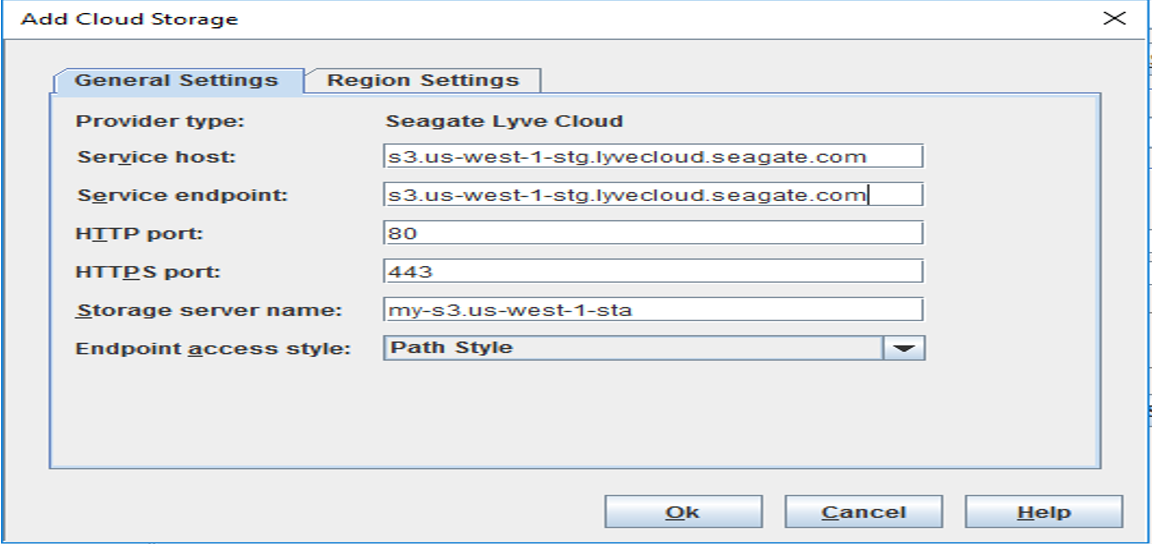
Select Add Cloud Storage and provide the following information in the General settings tab.
Service host: Enter your Lyve Cloud bucket endpoint URL
Service endpoint: Enter your Lyve Cloud bucket endpoint URL (same as Service host)
HTTP port: Enter the HTTP port as 80
HTTPS port: Enter the HTTPS port as 443
Storage server name: Enter the storage server name
Endpoint access style:Select as Path Style from the list.
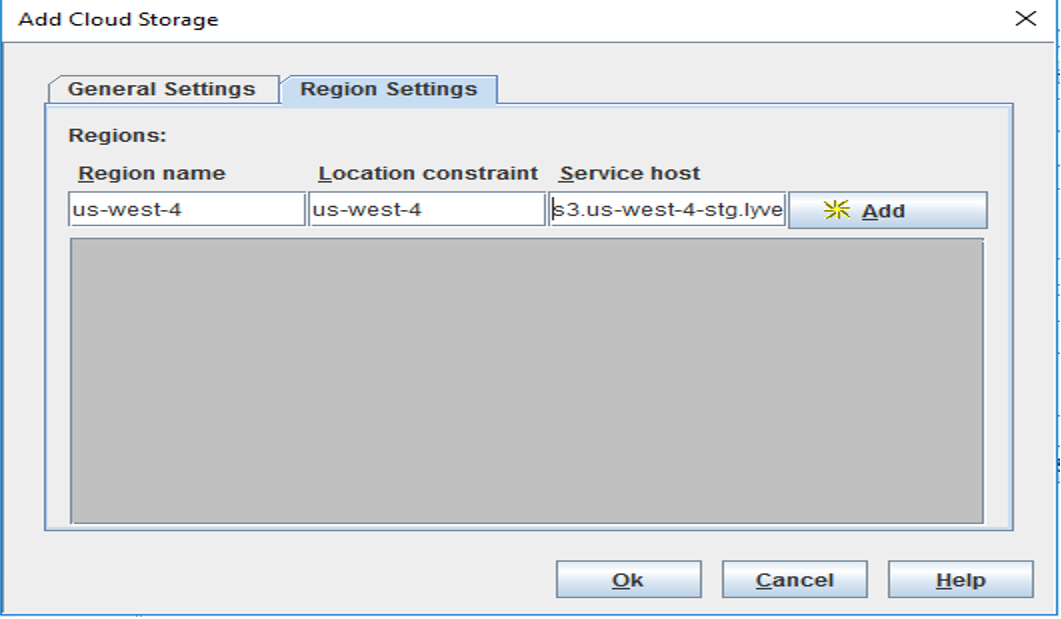
Select Region Settings and provide the following information and then select Add:
Region name
Location constraint (same as Region name)
Service host
Select Ok to proceed.
Select the Media server and enter the Access key ID and Secret access key of your Lyve Cloud bucket.
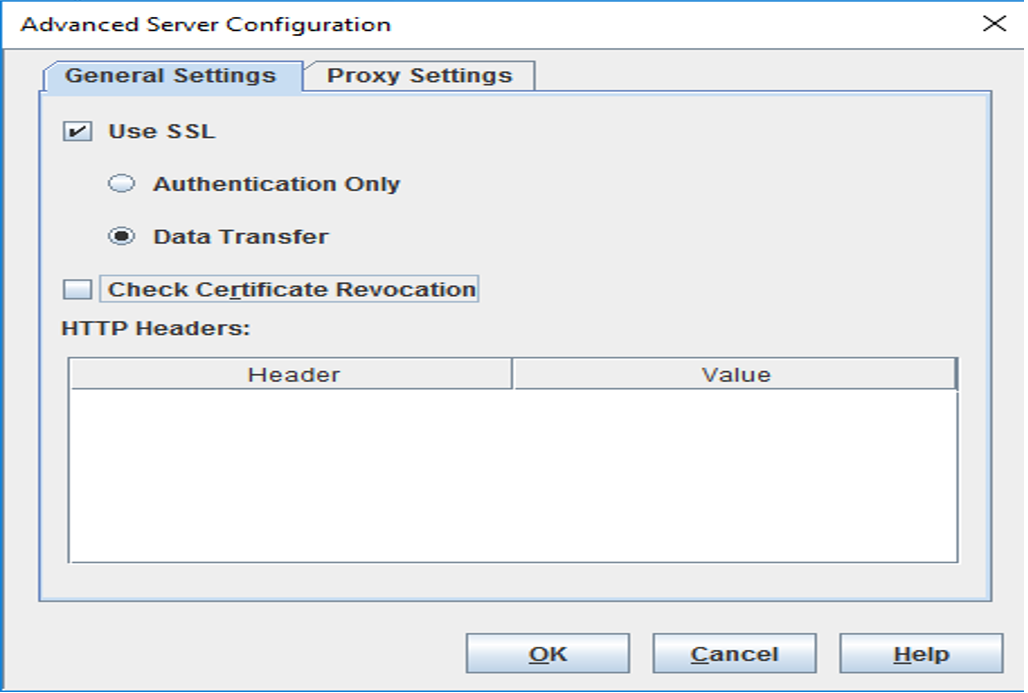
Select Advanced Settings and perform the following and then select Ok to proceed:
Check Use SSL,
Select Data Transfer,
Deselect Check Certificate Revocation,
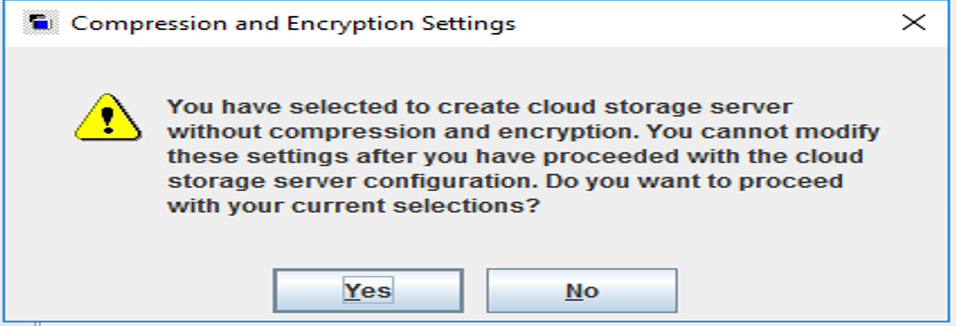
Keep the default Object Size, Compression, and Encryption and select Next to proceed.

Select Yes to proceed without compression and encryption settings.
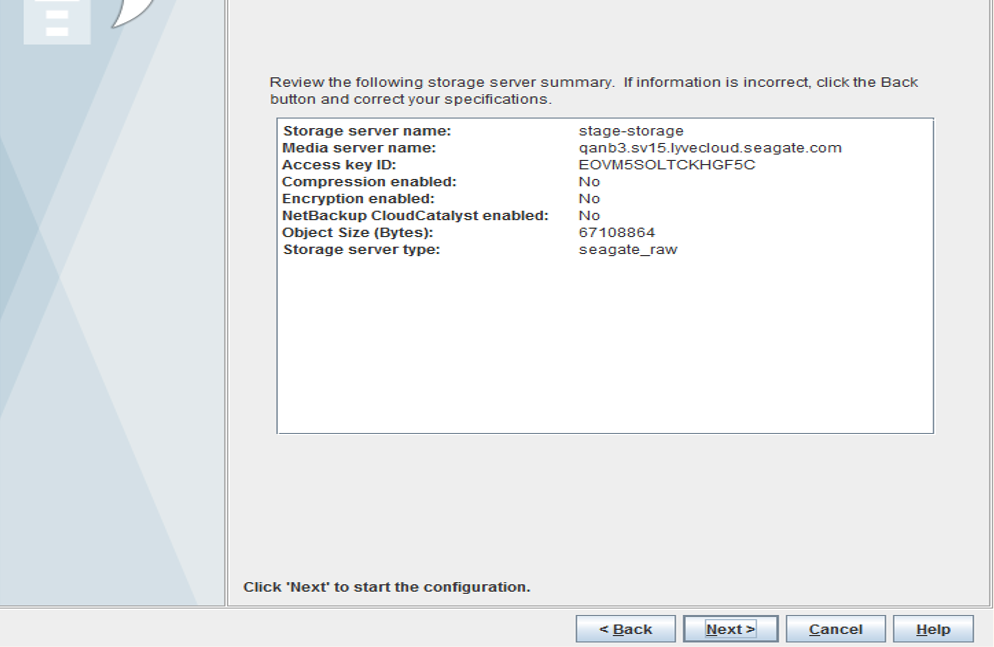
Review the storage server summary and select Next.
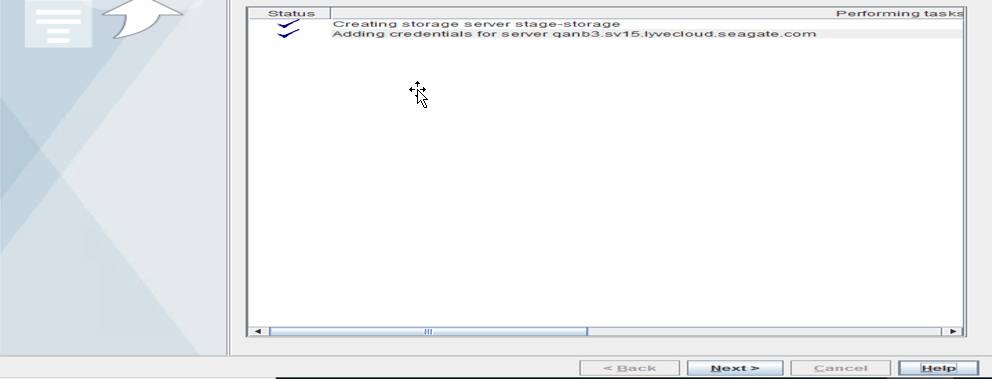
View the status of the server tasks and select Next to continue.
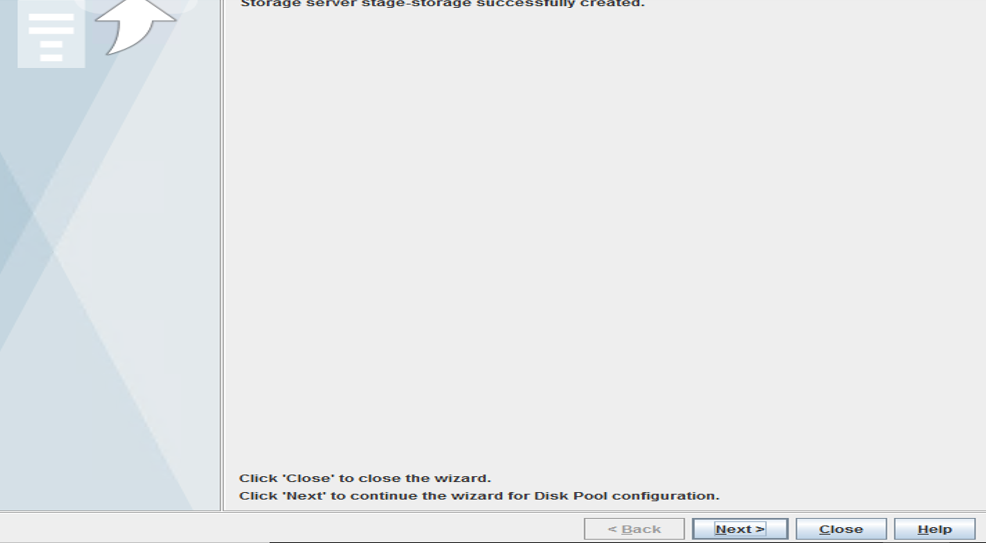
If performed correctly, the message will appear as shown below. Select Next to configure your Disk pool.
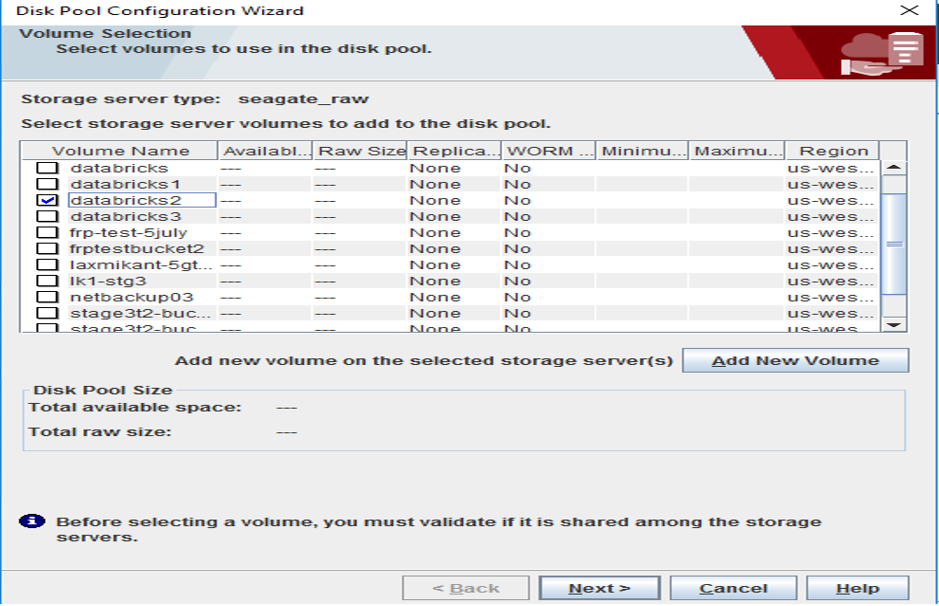
Adding cloud buckets as volumes
Choose your bucket(s) as your backup destination. Alternatively, you can select Add New Volume to create a new backup destination. Select Next to continue.
Provide a disk pool name and leave the remaining fields as the default.
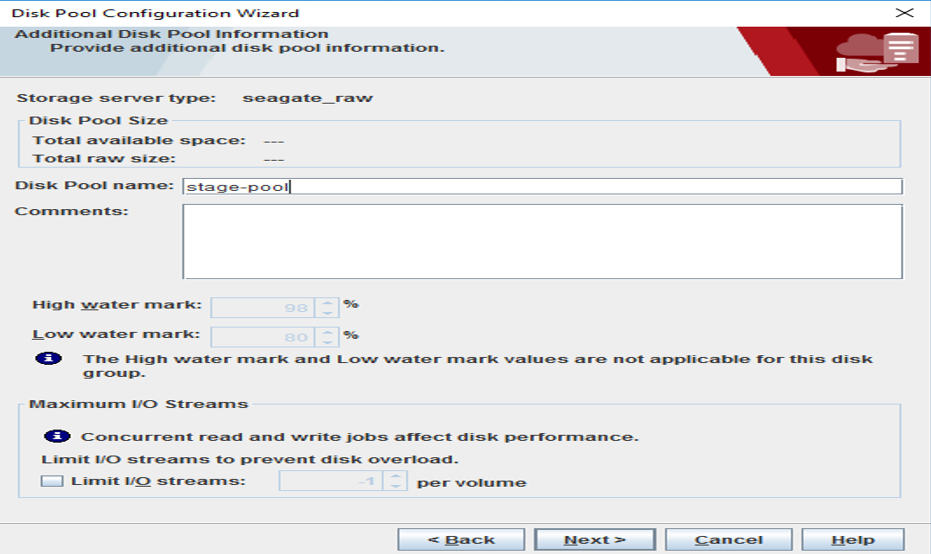
Verify the disk pool configuration summary and select Next to continue.

You will receive a message confirming the creation of your disk pool. Select Next to continue.
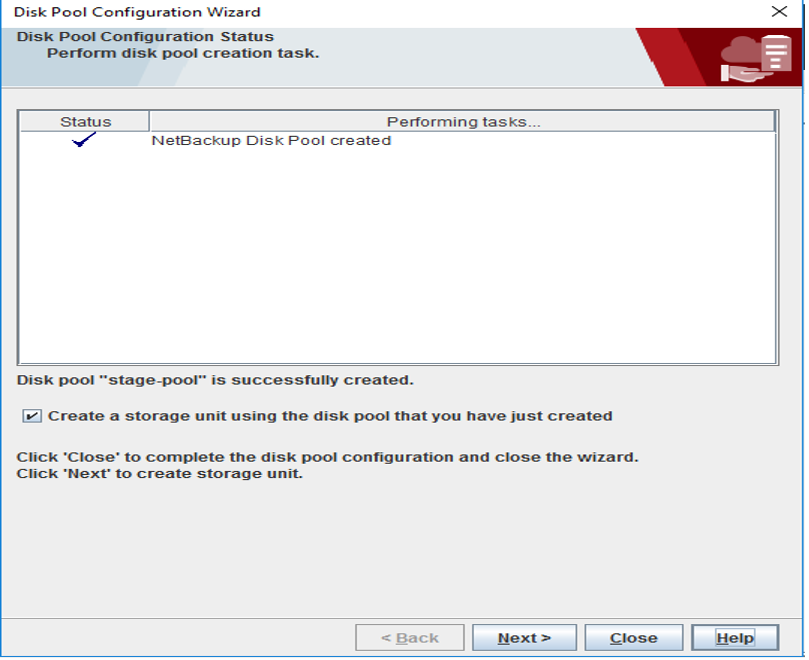
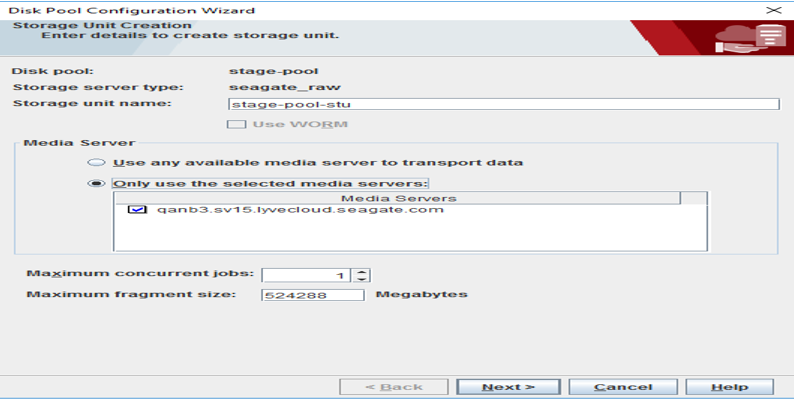
Creating storage units
Create a storage unit for your disk pool and select Next to continue.
Enter the name
Choose Only use the selected media servers
Set the Maximum concurrent jobs and Maximum Fragment size
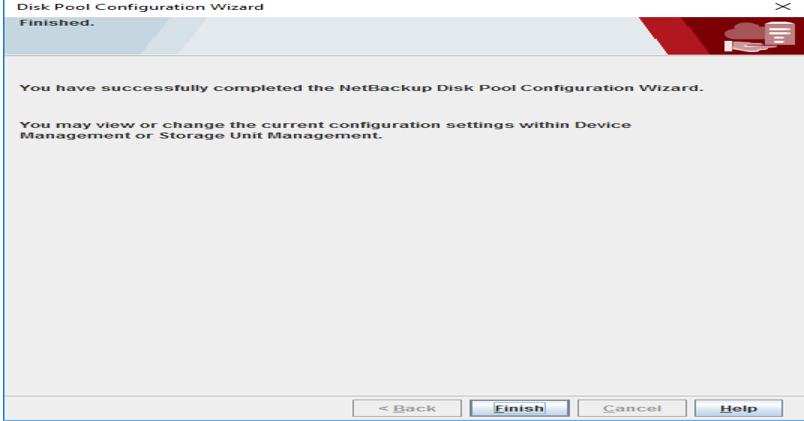
Select Finish to complete the disk pool configuration wizard.
Creating a policy
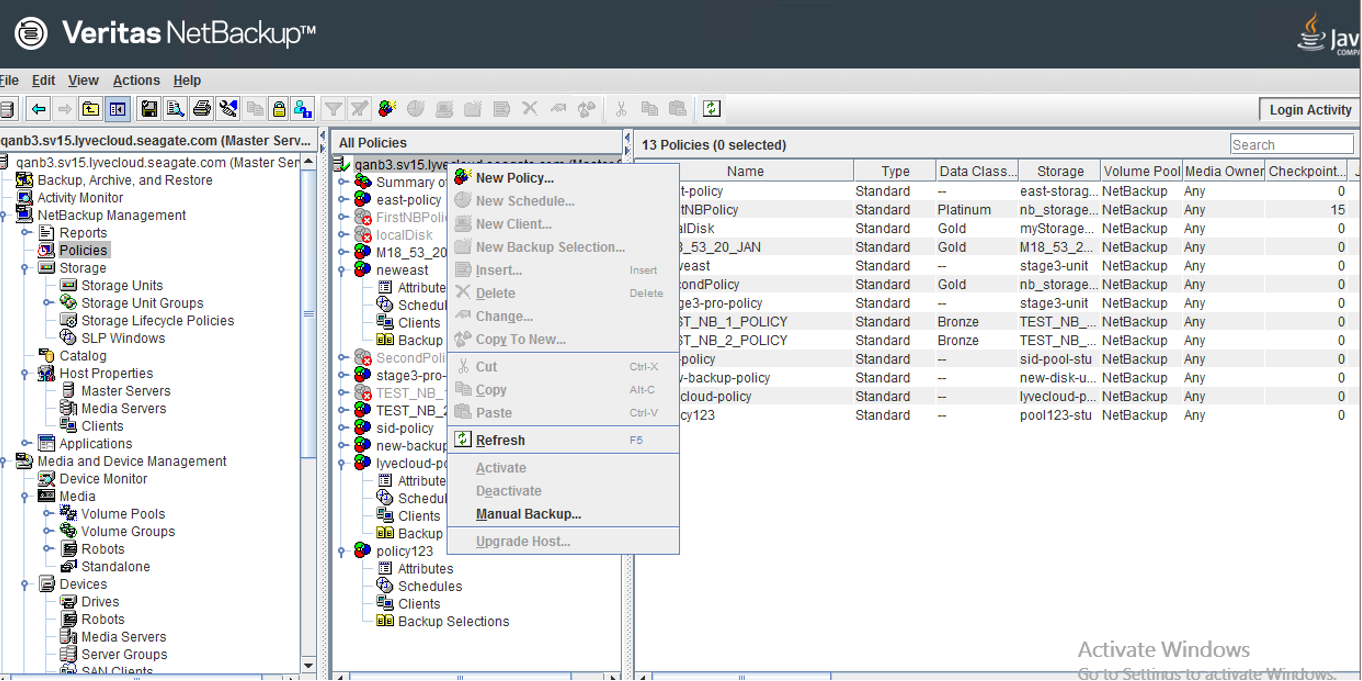
Open the Policies page, right-click on your media server, and select New Policy.
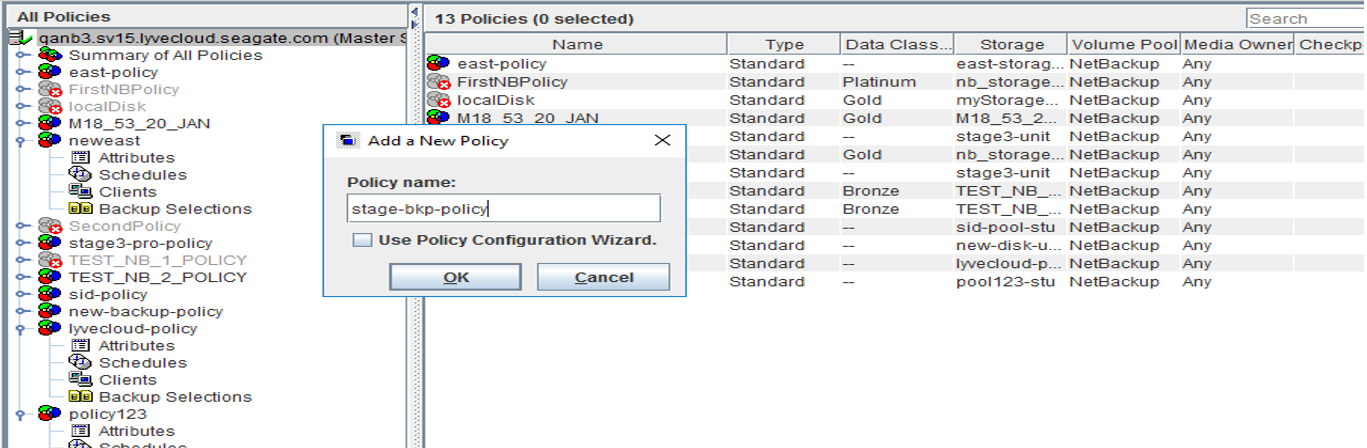
Create a Policy name and select OK.
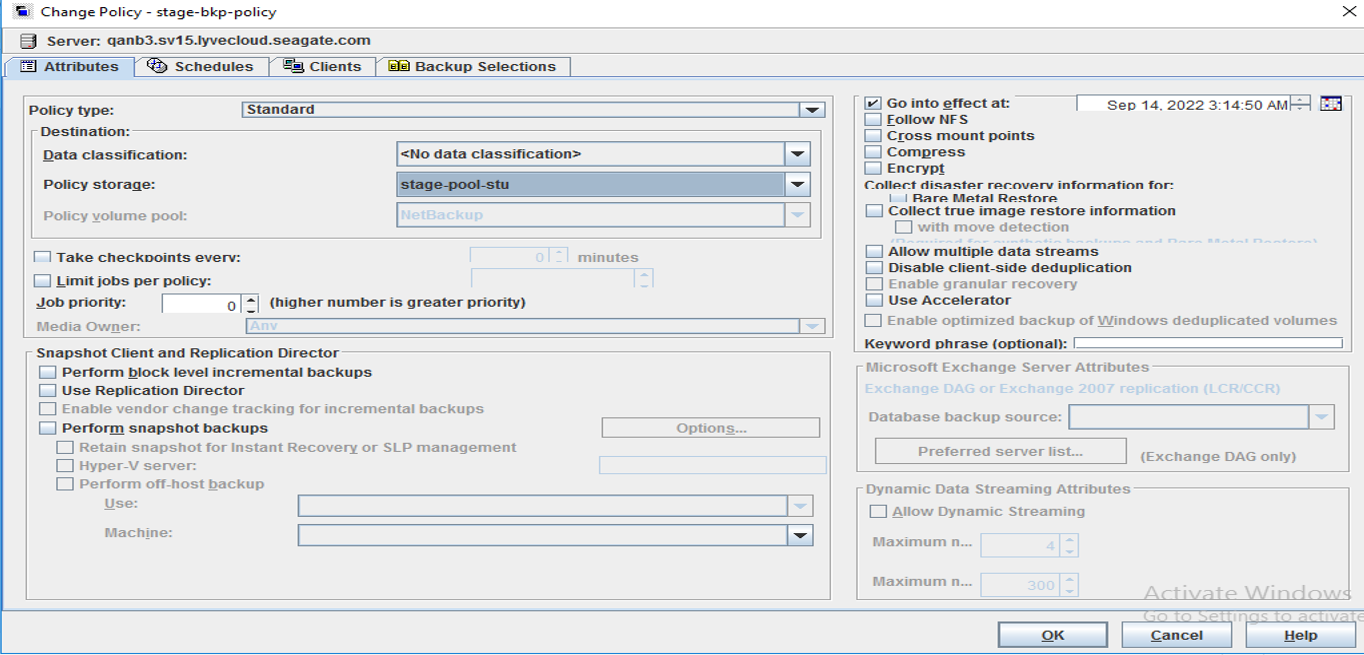
The following window will appear. Choose the Policy storage from the dropdown menu and select OK to proceed to the Schedules section.
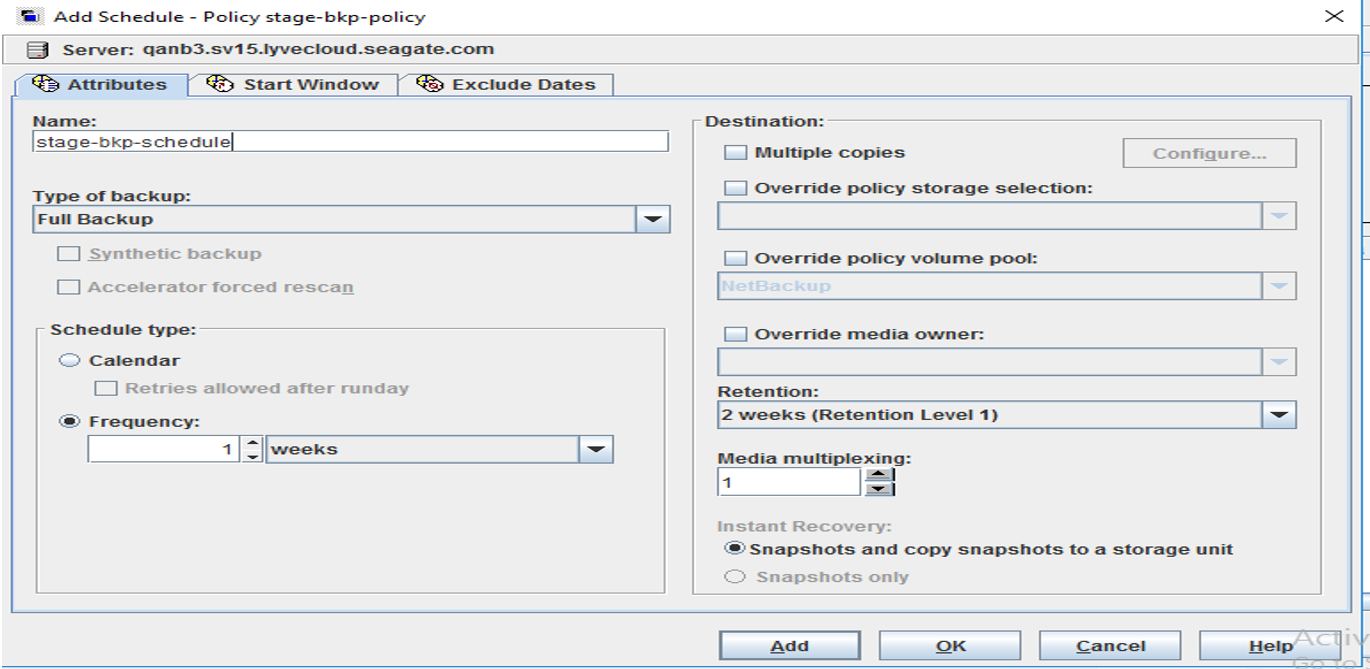
Select Add to add a schedule and enter the following fields per your requirements. Select OKto proceed to the Clients section.
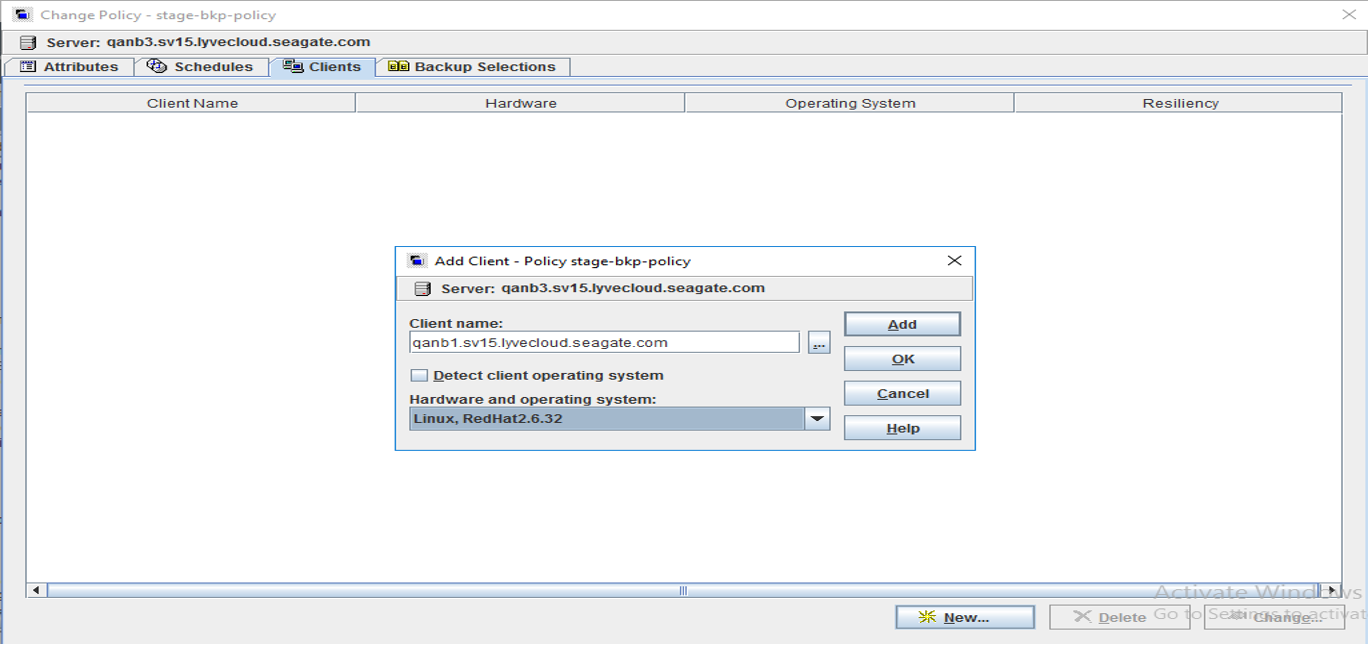
Select New to create a client. Enter a client name, select the operating system for your backups, and select OK.
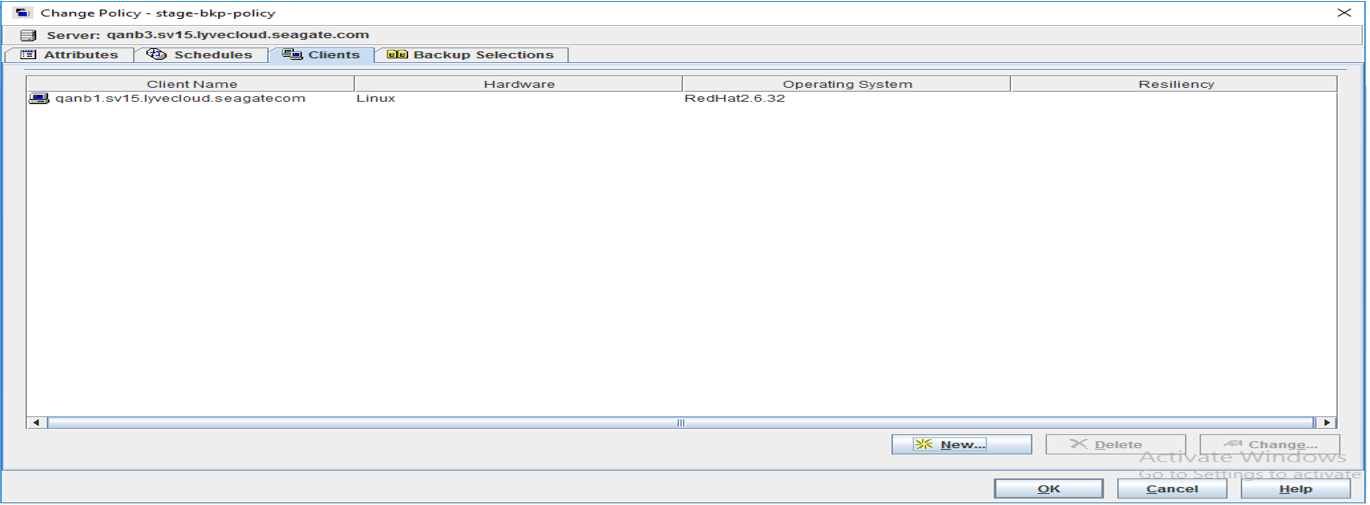
Once your client is added, the new client is displayed.
From the Backup Selections page, select Browse. It lists all folders present on the client.
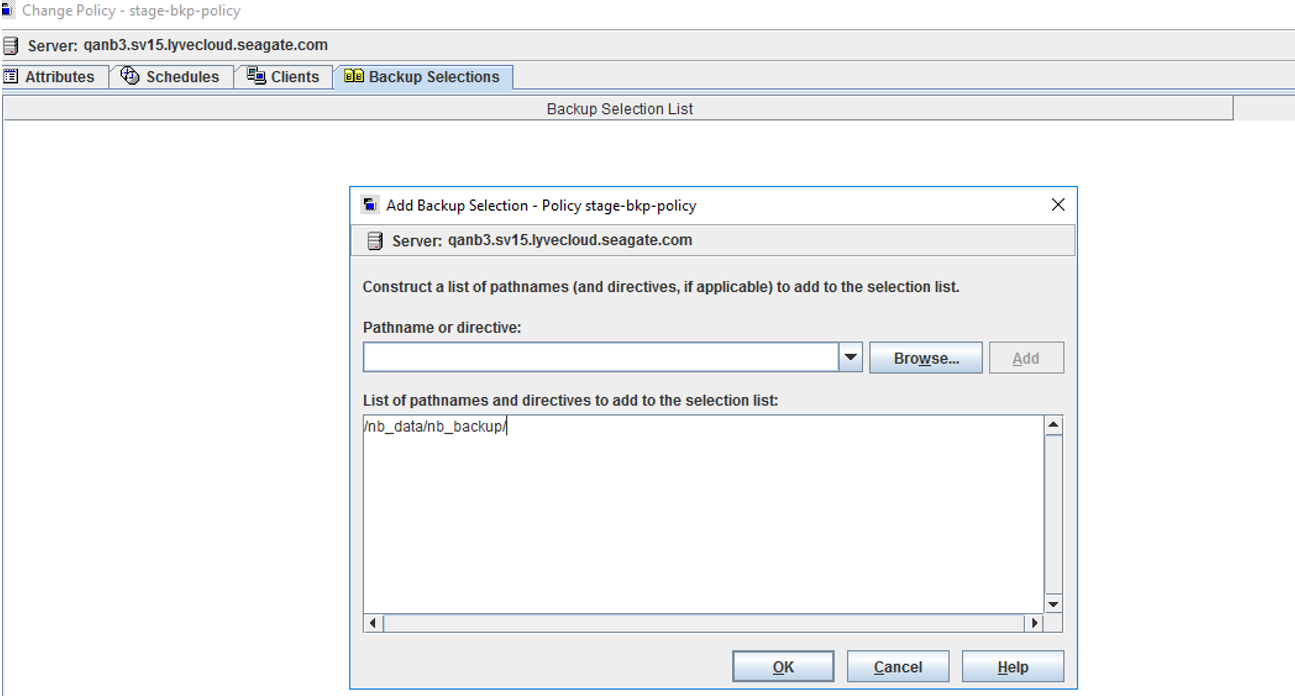
Select the folders to backup from the list and select OK.

Running manual backups
To run backups manually:
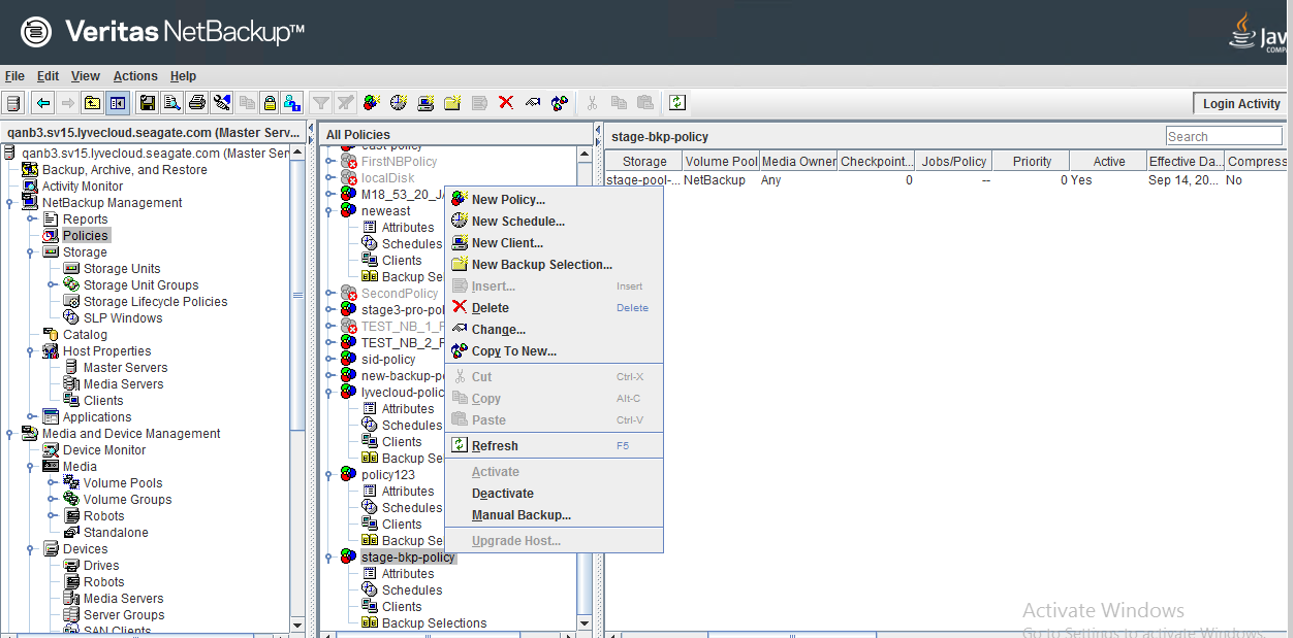
Navigate to the Policies page, right-click on the new policy created and select Manual Backup.
In our example, we created the policy stg-backup-policy.
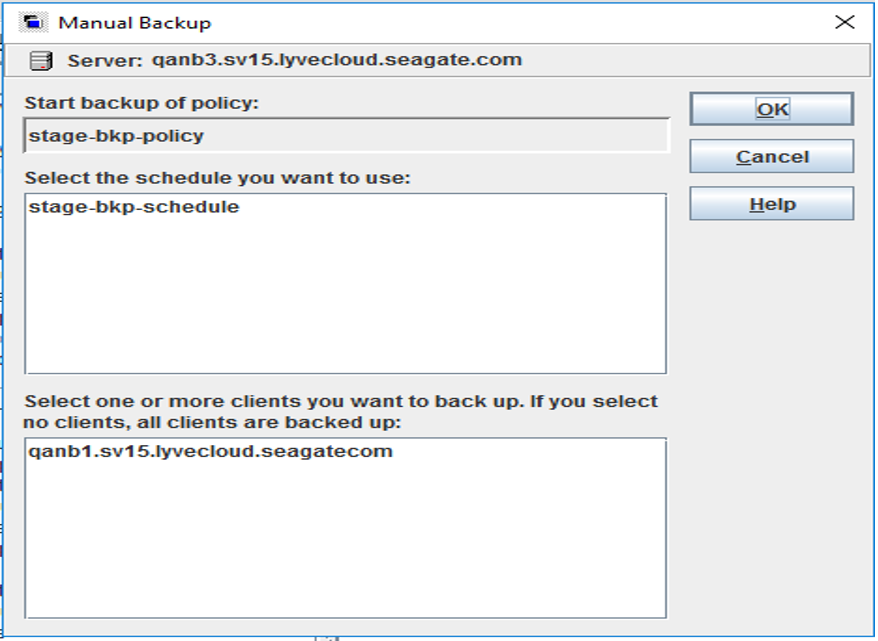
You will find the backup policy, schedule, and client machine of your manual backup. Select OK to begin the manual backup.
Monitoring and viewing Jobs
Select Activity Monitor to view backup logs by associated Job Id.
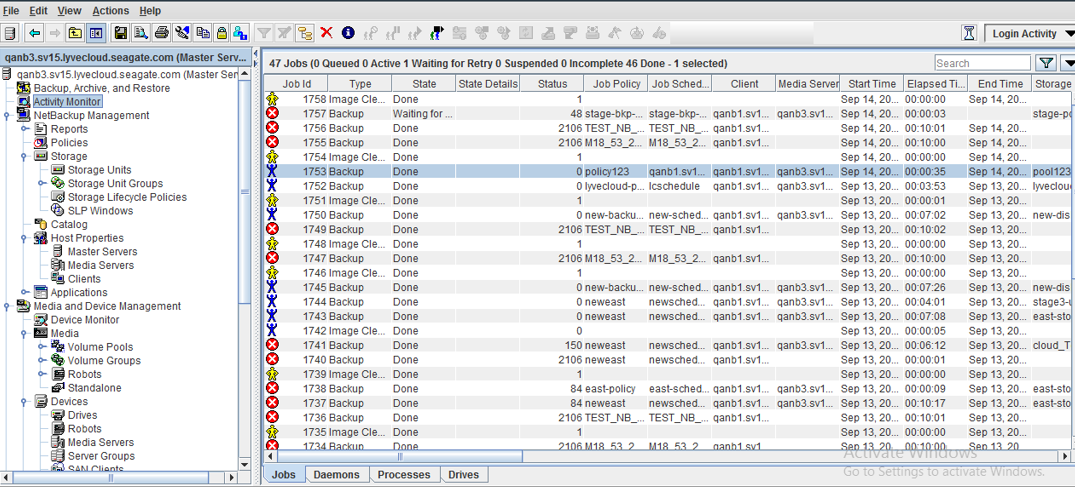
Double-click on a Job Id to view detailed logs of the backup. Select Detailed Status to view the status logs of the backup.

Once the backup is completed, verify that the content has been copied to your bucket.
Note
If you are experiencing issues when connecting to a region. Delete the existing cloud storage configuration from the Master Servers tab, resolve the problematic area and try again. Alternatively, you may add cloud storage from the media server using the following command:
/usr/openv/volmgr/bin/tpconfig -add -storage_server storage-west -stype seagate_raw -sts_user_id ACCESS_KEY -password SECRET_KEY
For more installation and configuration support with Veritas NetBackup, please visit veritas.com/support.