Lyve Cloud with Acronis
In this section, you will learn how to configure Lyve Cloud to Acronis.
A Lyve Cloud Storage Account.
Create a service account and save the access and secret key.
Service Provider Account in Acronis Cyber Protect Cloud.
Install Acronis Cyber Infrastructure (on a virtual or physical machine)
Ability to work with Domain Name System (DNS).
Note
The DNS should resolve IP addresses of the public interface of VMs with Acronis Cyber Infrastructure. For more information, see DNS recommendations of the Acronis Cyber Protect Cloud knowledge base.
The configuration for Lyve Cloud with Acronis is divided into three simple tasks.
Create a Lyve Cloud service account. For more information, see Provisioning Storage Buckets.
Installing and configuring Acronis to Lyve Cloud.
Executing backups to Lyve Cloud.
Installing Acronis Cyber Infrastructure
Create and log in to your trial cloud account.
Note
Please have an active Acronis Cyber Protect cloud service provider account for existing Acronis account holders. If you do not have one, please create one at this time from the Acronis Cyber Protect product page.
Download the latest version of Acronis Cyber Infrastructure ISO.
Deploy the ISO and build the Acronis Cyber Infrastructure Server. For more information, please view the Acronis Cyber Infrastructure installation overview.
Configure the server to boot from the chosen media.
Boot the server and select Install Acronis Cyber Infrastructure on the welcome screen.
Carefully read and accept the End-User License Agreement.
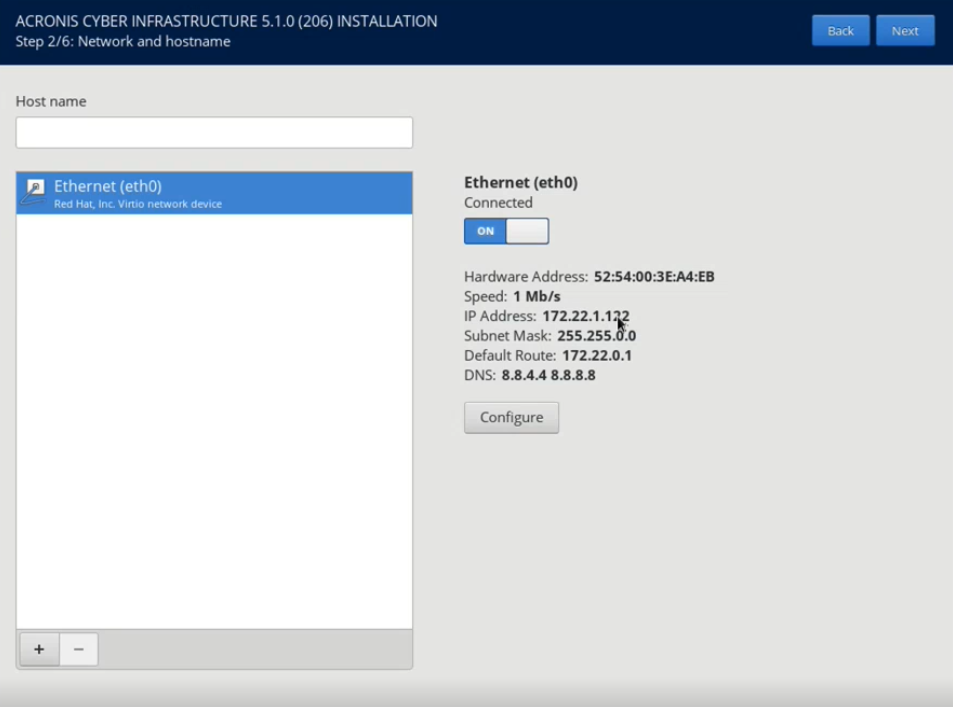
Specify a unique Hostname, select your desired ethernet connection, and select Configure.
The hostname can be either a fully qualified domain name (<hostname>.<domainname>) or a short name (<hostname>).
Note
We recommend using a static IP address.
Set your Region, City, Date, and Time, and select Next.
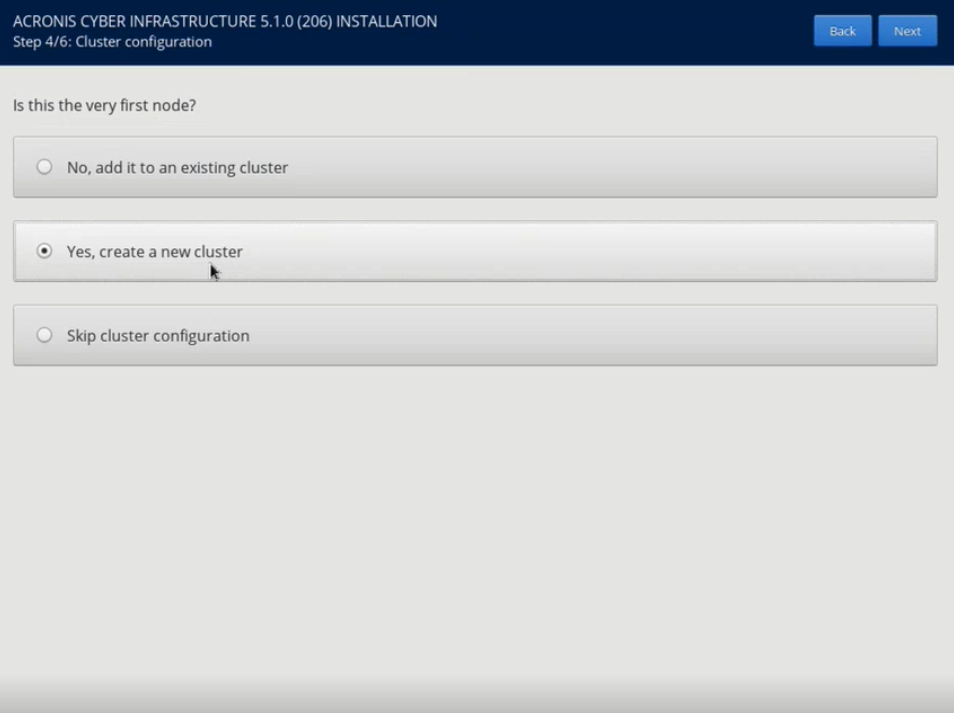
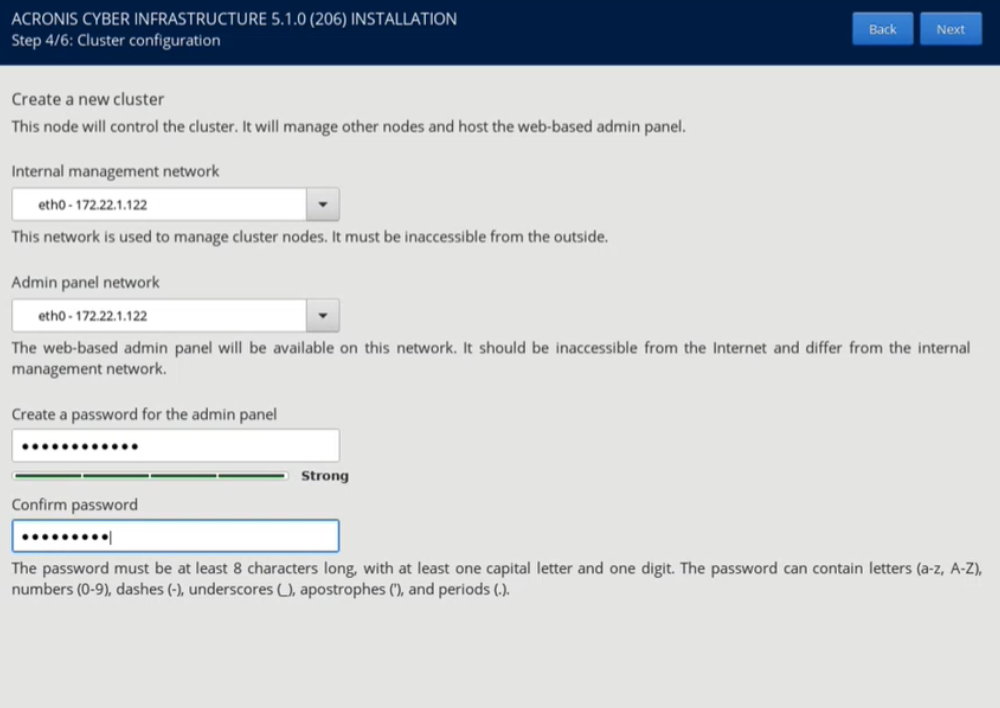
Select Yes, and create a new cluster.
Create a password for the admin panel.
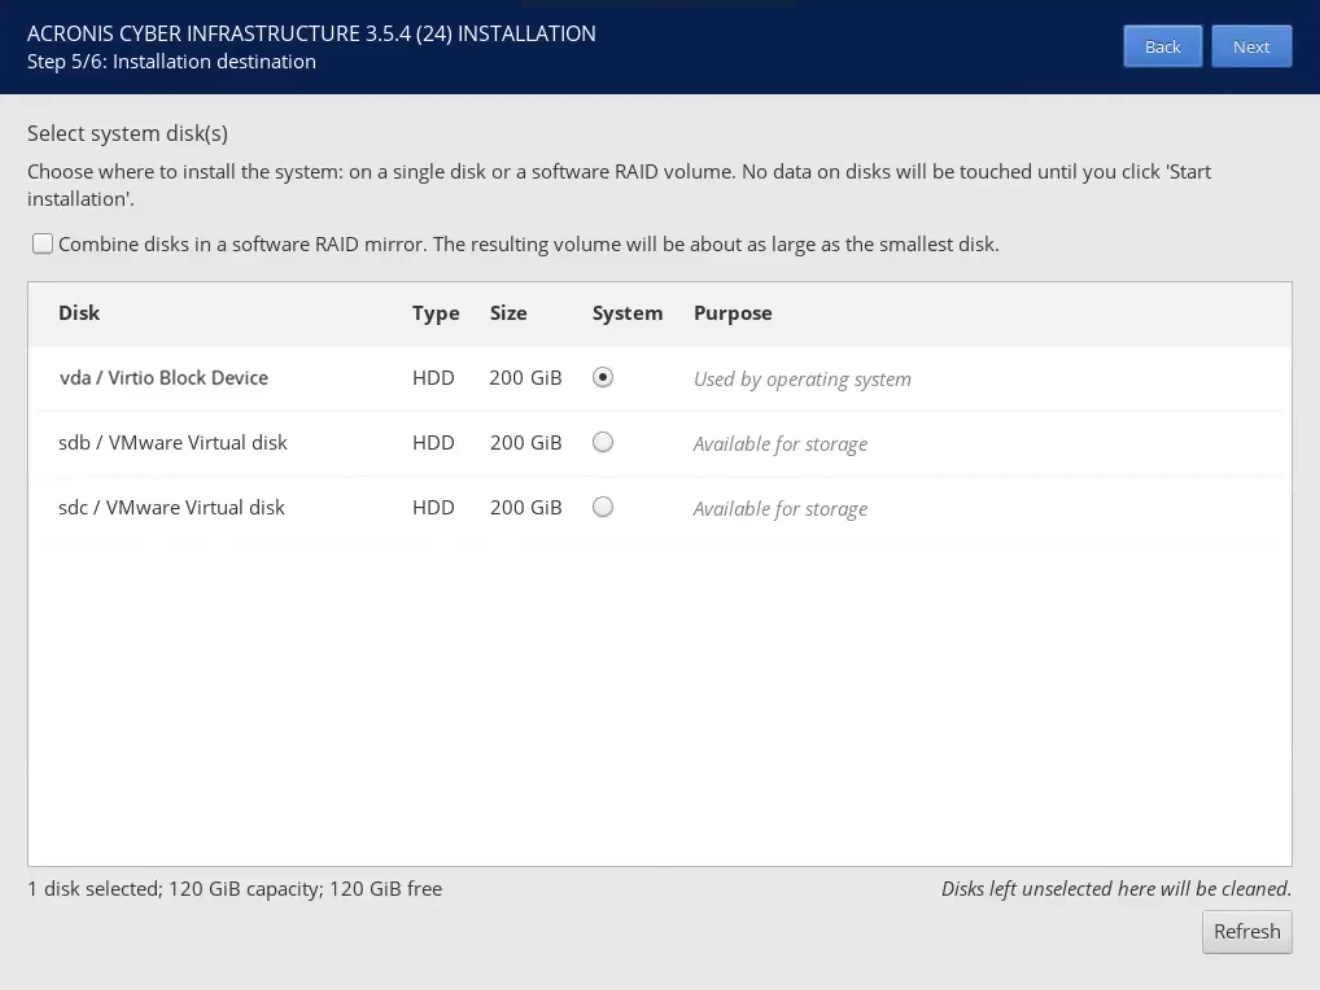
Select the system to use as the installation destination and select Next .
Create a password for the Acronis Cyber Infrastructure login and select Start installation.
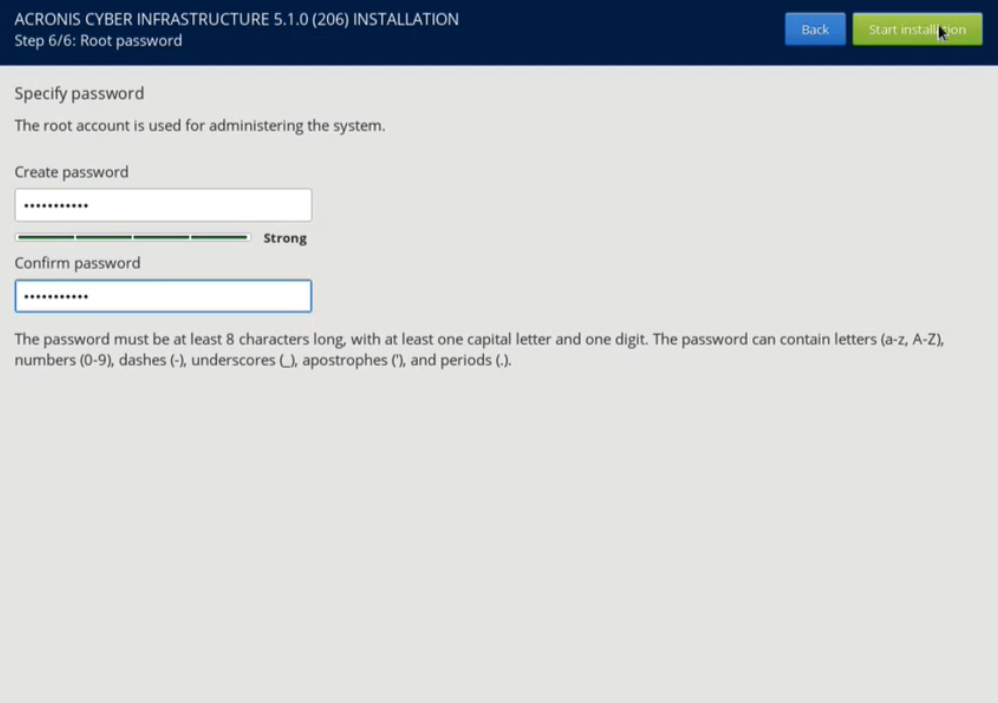
Note
Once installation is completed, you can access Acronis Cyber Infrastructure by using the URL from the machine in which it is installed.
Creating a cluster
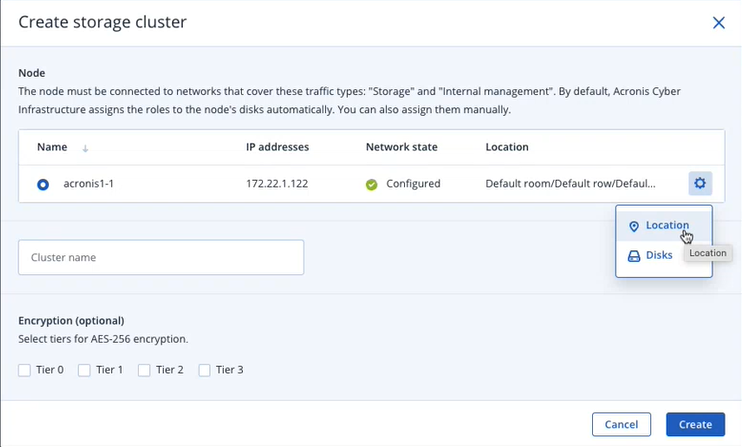
Login to Acronis Cyber Infrastructure, open the Nodes page and select Create storage cluster.

Select the cogwheel icon to configure the disk roles and node location. Select Create when finished.
Cluster name: Enter a name for the cluster.
Note
The name may only contain alphanumeric characters and hyphens "-".
Encryption: Enable encryption if required.
Note
Creating a cluster may take longer based on the number of disks to configure. You can monitor cluster creation on the Nodes screen of the Acronis Cyber Infrastructure dashboard.
Configuring nodes to Lyve Cloud
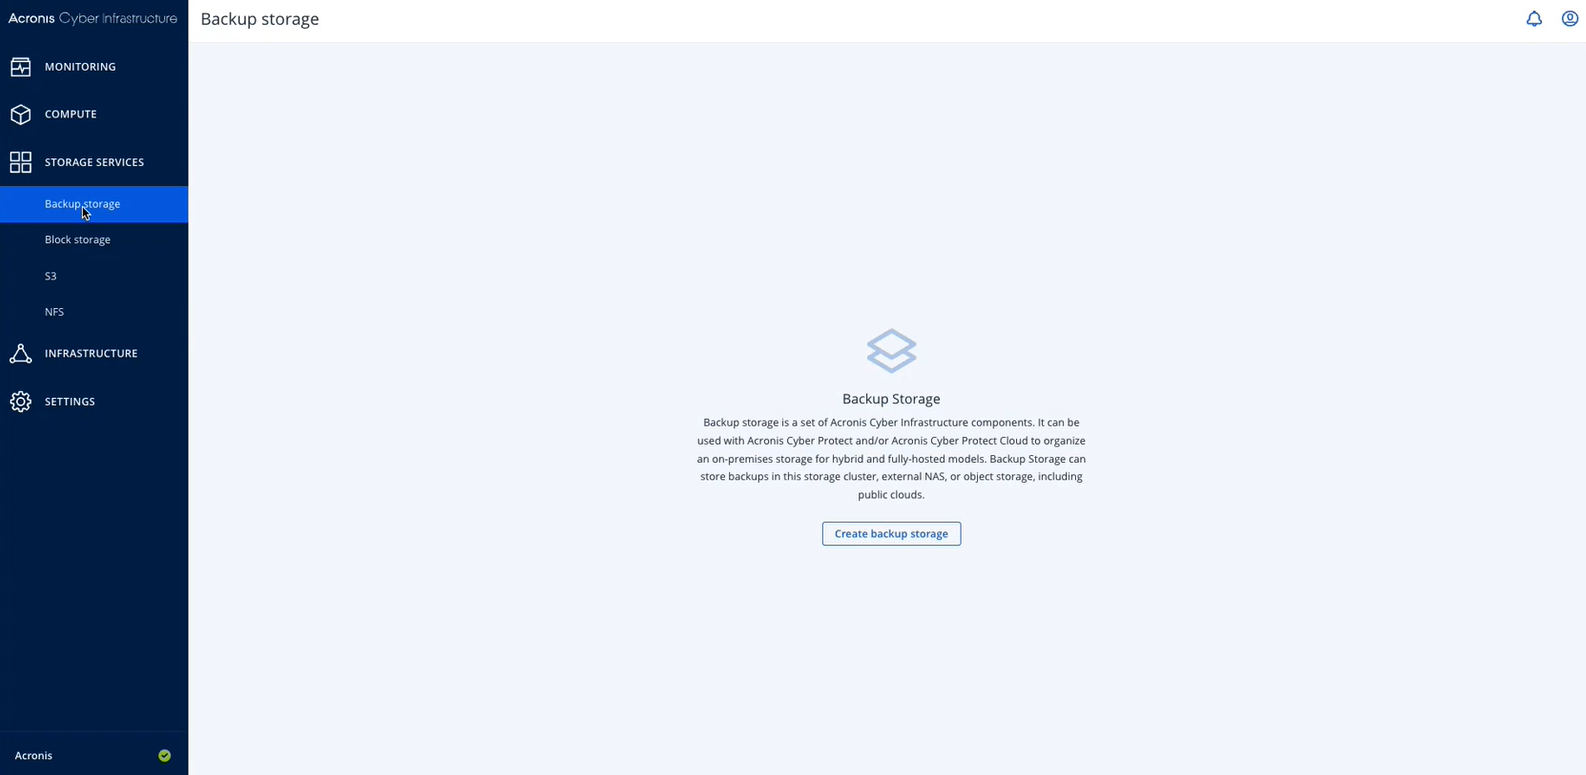
Select Storage Services , then choose Backup storage and select Create backup storage.
In the Backup destination section, select Public cloud.
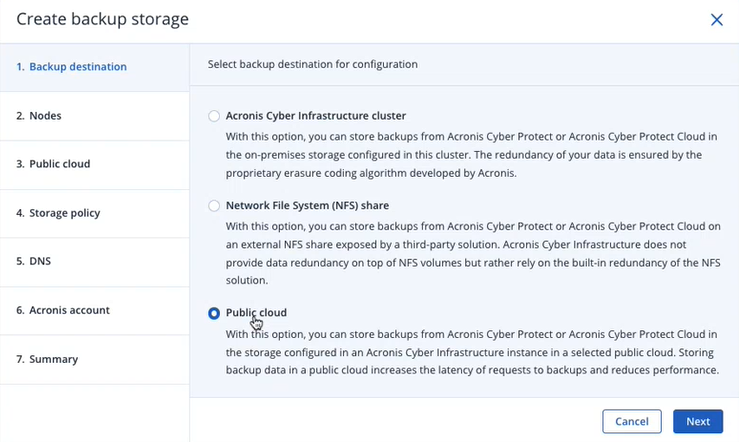
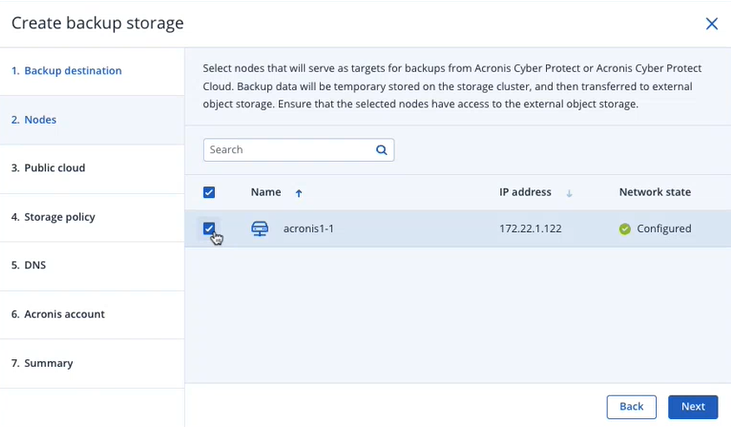
Select the nodes to add to the backup storage cluster and select Next.
Specify information relevant to your public cloud provider under the Public cloud section and select Next when done.
Enter the following to connect to Lyve Cloud:
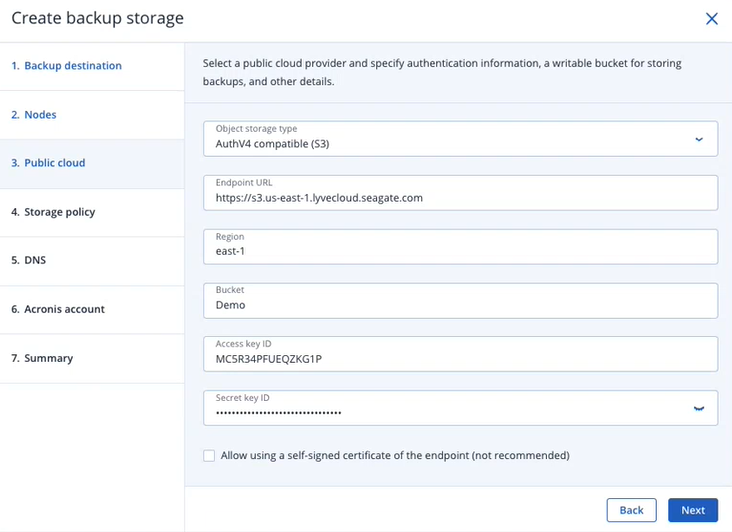
Object storage type: Enter AuthV4 compatible (S3)
Endpoint URL: Add your Lyve Cloud bucket endpoint URL. For more information, see S3 API Endpoint.
Access key ID: Enter your Lyve Cloud Access Key.
Secret Access Key: Enter your Lyve Cloud Secret Key. For more information, see, Creating service accounts.
Bucket: Enter your bucket name.
Note
The service account must have write operation enabled for this bucket.
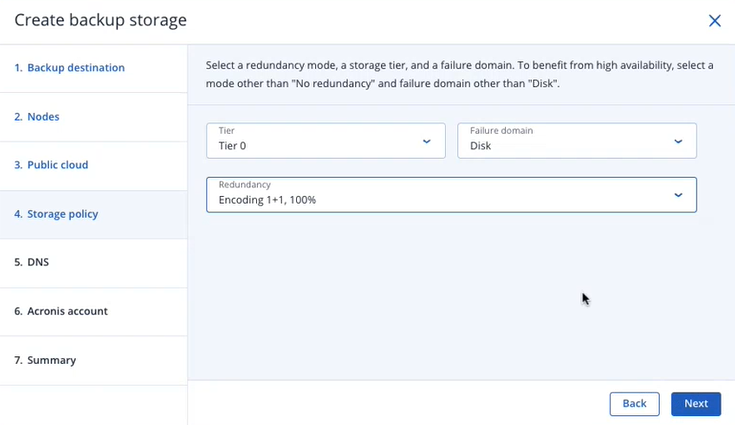
On the Storage policy, select the desired Tier, Failure domain, and Redundancy, and then select Next.
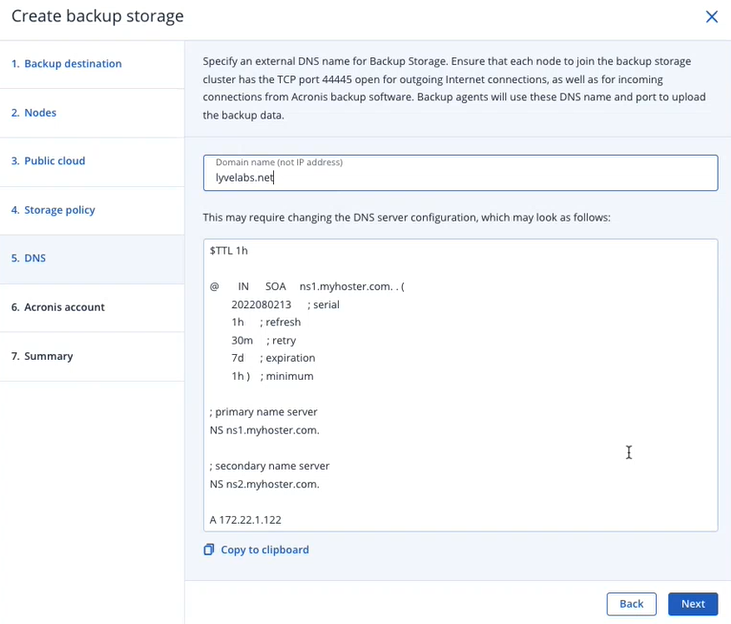
Specify the registration and external DNS names for backup storage in the DNS section.
For example, backupstorage.example.com.
Backup agents will use this DNS name and the TCP port 44445 to upload backup data. Select Next when completed.
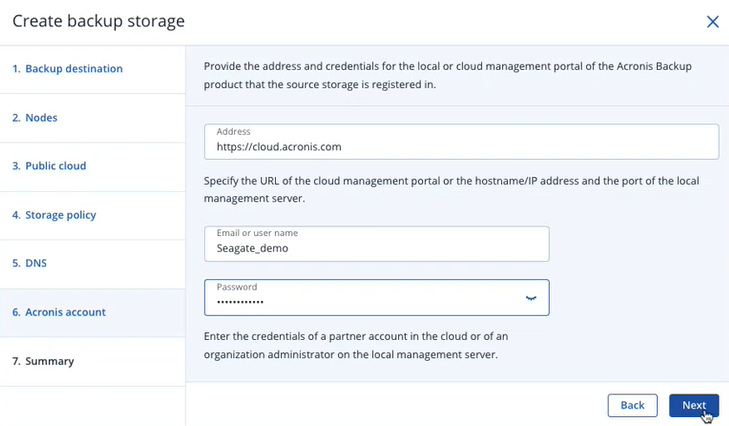
Provide the Acronis address and account credentials.
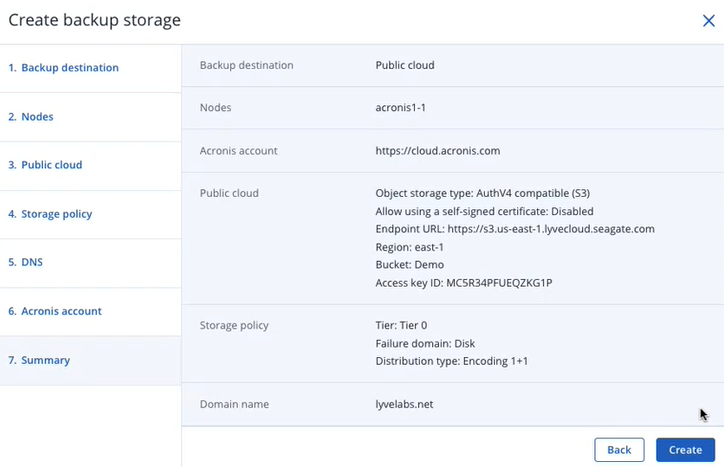
On the Summary section, review the configuration, and then select Create.
Creating a new customer in Acronis Cyber Cloud
Log in to the Acronis Cyber Cloud management console.
Navigate to Settings of the main menu and select Locations. Ensure the system creates a new backup destination with the corresponding name derived from the DNS name.
Select New and select Customer.
Provide the customer's general information:
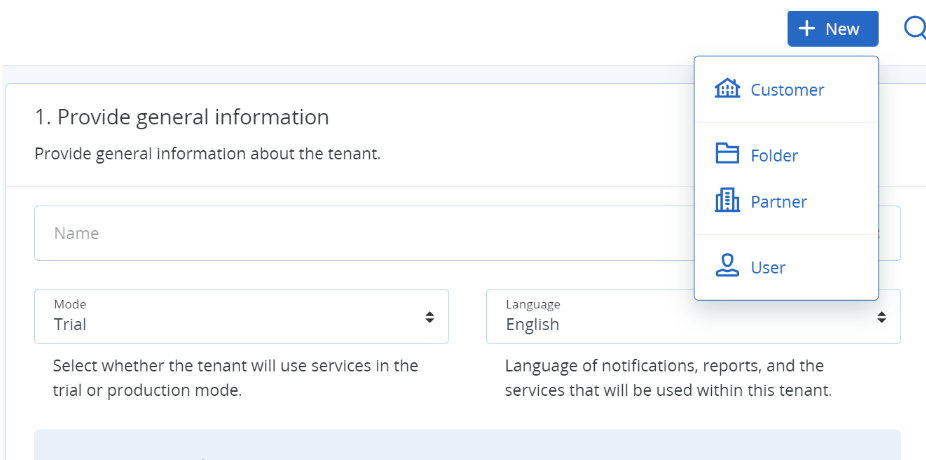
Name: Enter the customer's name
Mode: Choose Trial or Production
Language: Specify the language used for notifications and services
Management mode: Select Self-service or Managed by the service provider
Security: Choose security methods
Select the services you want to provide the customer and select Next.
Specify the customer's devices and workloads, such as servers and workstations.
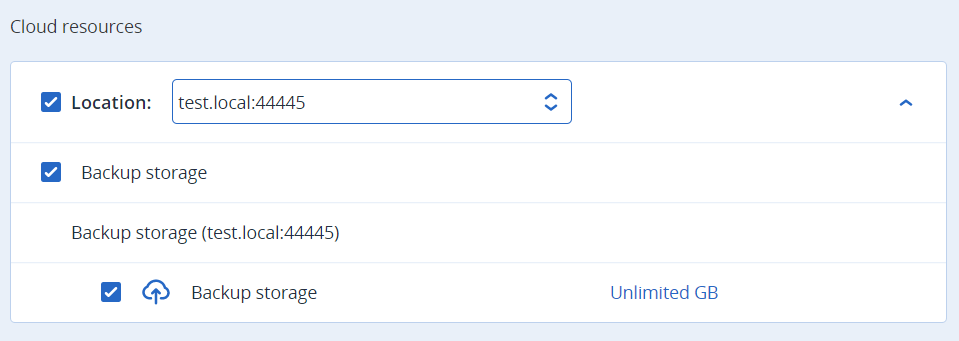
Select the current location name in the section Location section to display all the available options. Select the required storage.
Note
In this case, we’re using s3 cloud storage, so we must select our created storage test.local:44445.
Select Done to complete. To confirm your account, check your email and follow the activation request steps to activate your account.
Setting up backup storage in Acronis Cyber Cloud
Log in to the Acronis Cyber Cloud management console.
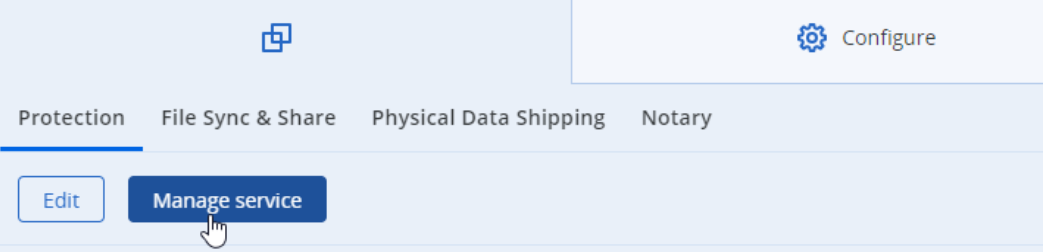
From the Clients section, select the created customer, and choose Manage service on the Overview page. This will open the Cyber Backup Management Console.
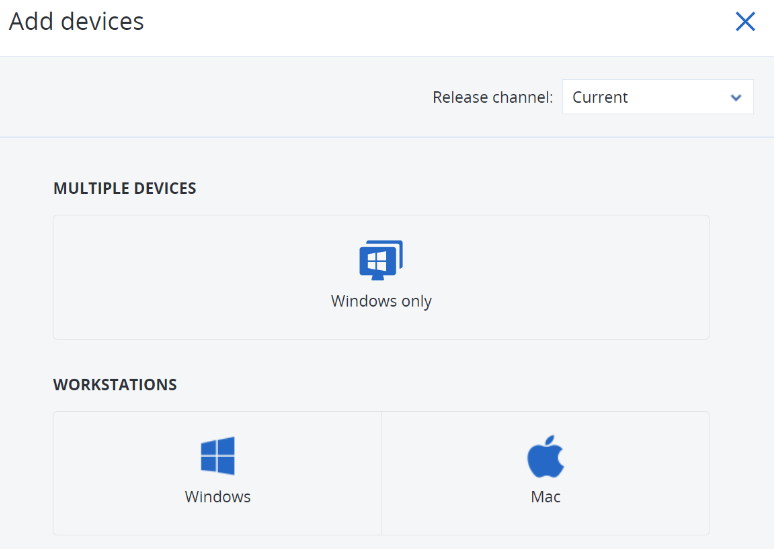
On the Cyber Backup Management Console, select Devices , then select Add . Choose the device type you want to add. The backup agent installer will be downloaded as per device type. Verify that the device has been added.
You need to install the agent to perform backups. For Windows, download the agent for a windows machine.
Install the backup agent.
Copy the downloaded agent on the machine in which you would like to take backups.
Select Install
Select Register the machine
Enter and confirm the device registration info
Check the user in the upper-right corner to verify that you are using the customer account you created.
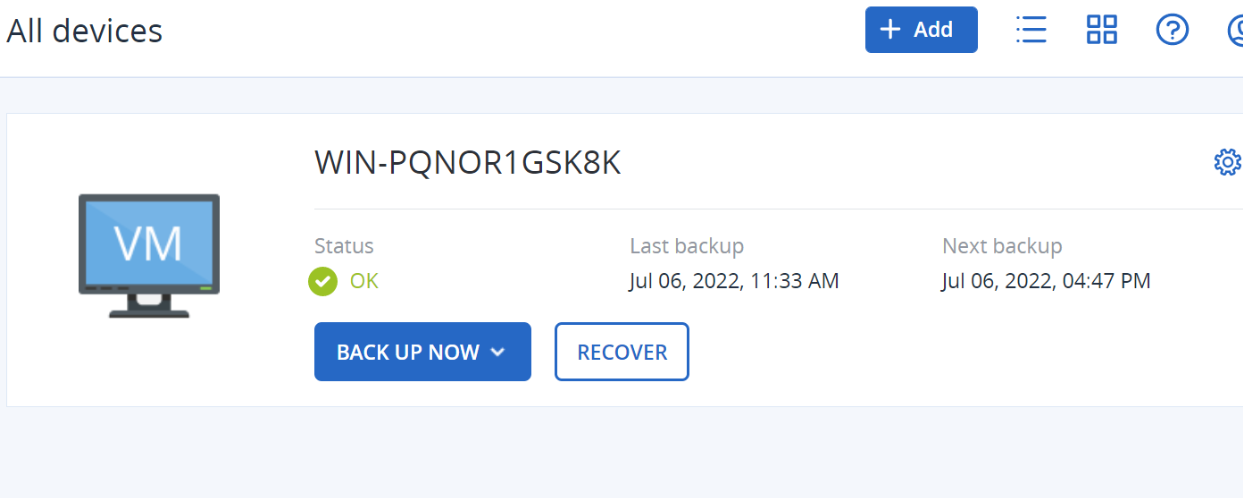
Navigate to Devices of the Backup Management Console and select All devices to view your registered device.
Creating a backup plan
Log in to the Customer portal, select the Protection tab, and select go to plans.
Under Actions, select Create Plan.
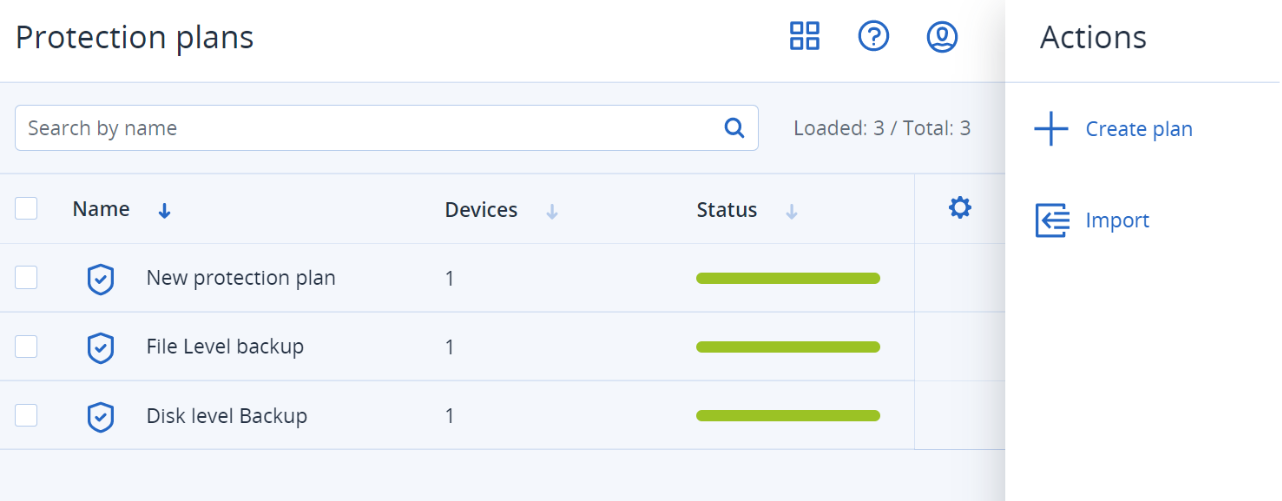
Select Add devices and select the backup device from which we create the backup plan.
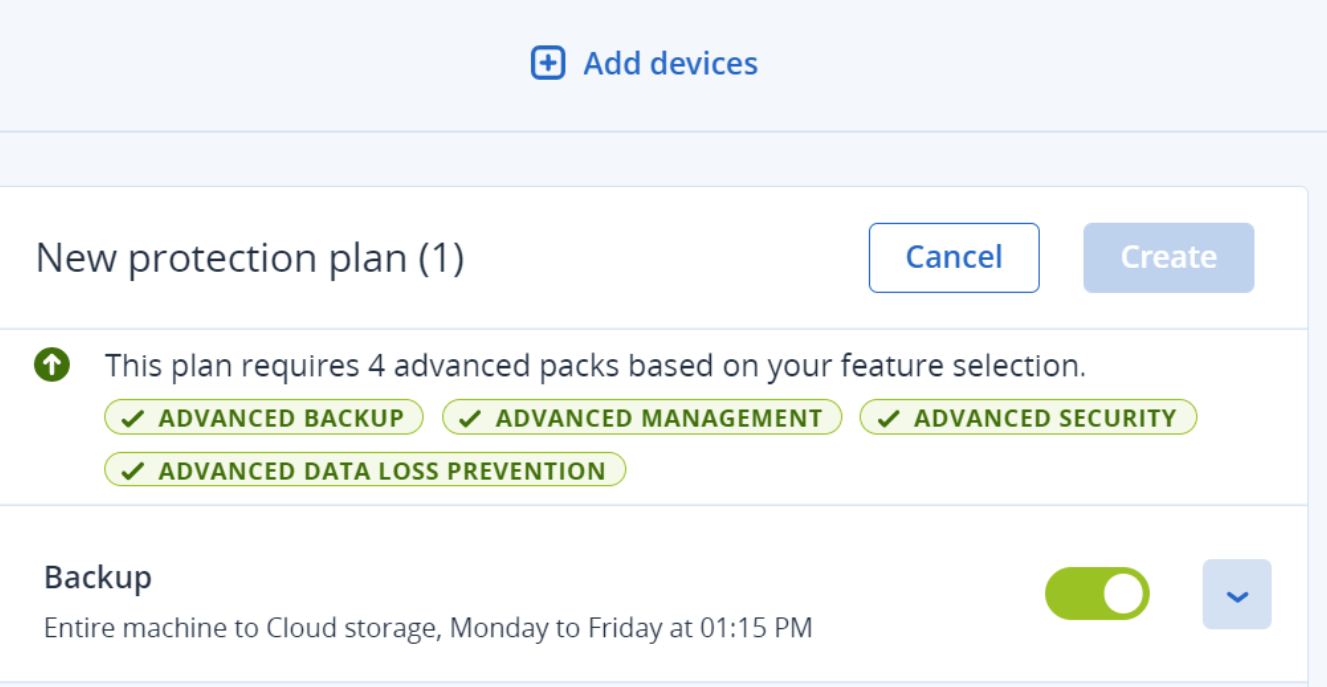
Rename the backup plan.
Navigate to What to back up and define your backup.
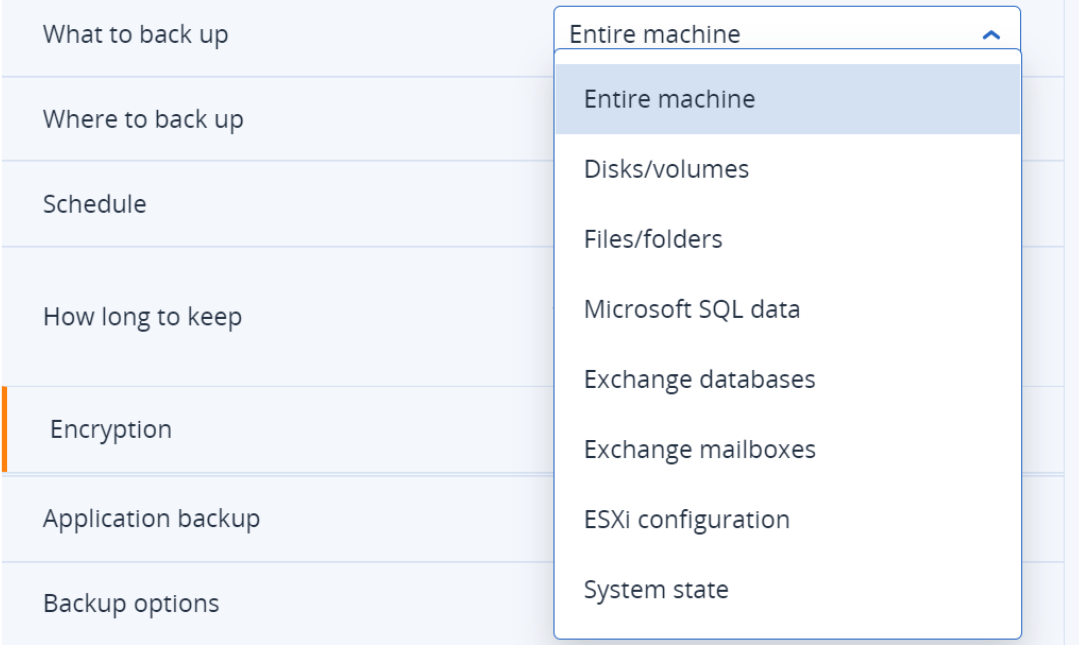
In the Where to back up menu, the plan is set to Cloud storage for backups to Lyve Cloud. Proceed through the following steps to define the backup details and select Create to create the backup plan.
Note
You may choose the Rest option if it is a requirement for your backup plan.
Executing backups
Navigate to the customer portal and select All Devices from the Devices menu.
Select Backup Now from the machine you wish you take backups.
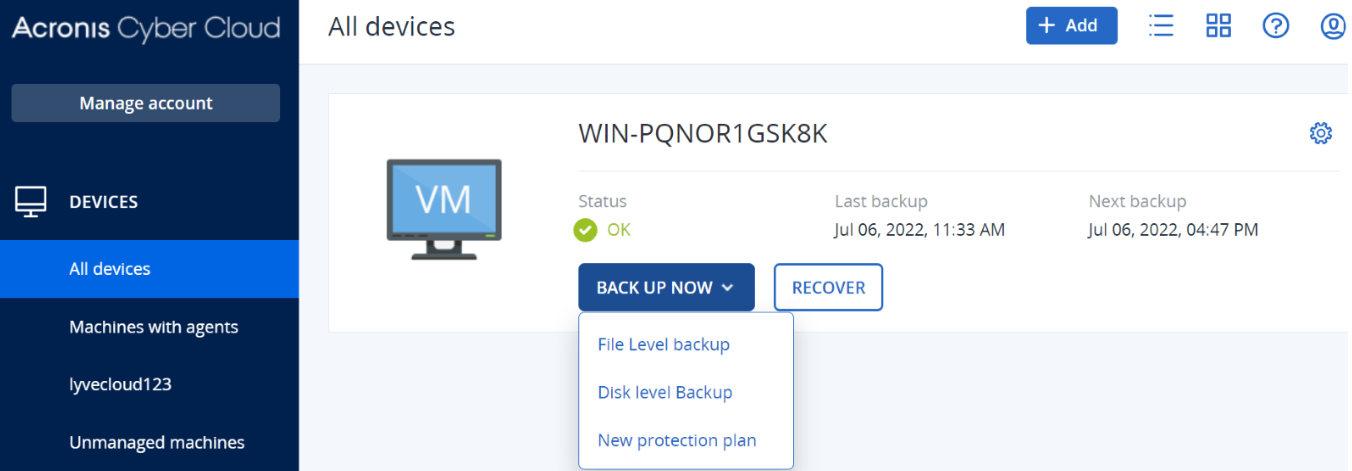
Select your desired backup plan. Once you begin the backup, you can view the backup progress on the same screen.

Checking backups on Lyve Cloud storage
In the command prompt, login to Lyve Cloud using the following command:
aws configure --profile name
Enter your Lyve Cloud Access Key ID, Secret Access Key, region, and output format.
AWS Access Key ID [***********5678]: EXAMPLE12345678
AWS Secret Access Key [**********STUV]: EXAMPLEQRSTUV
Default region name [us-west-1]: us-west-1
Default output format [json]: json
Check the backup by listing the content of your Lyve Cloud bucket using the following command:
aws s3 ls s3://bucket_url --profile name --endpoint https://endpoint_URL
Example output
aws s3 ls s3://acronis-test/38#1056706/1/ -- profile sid --endpoint https://s3.us-west-1.lyvecloud.seagate.com
For more information, see Listing Objects.